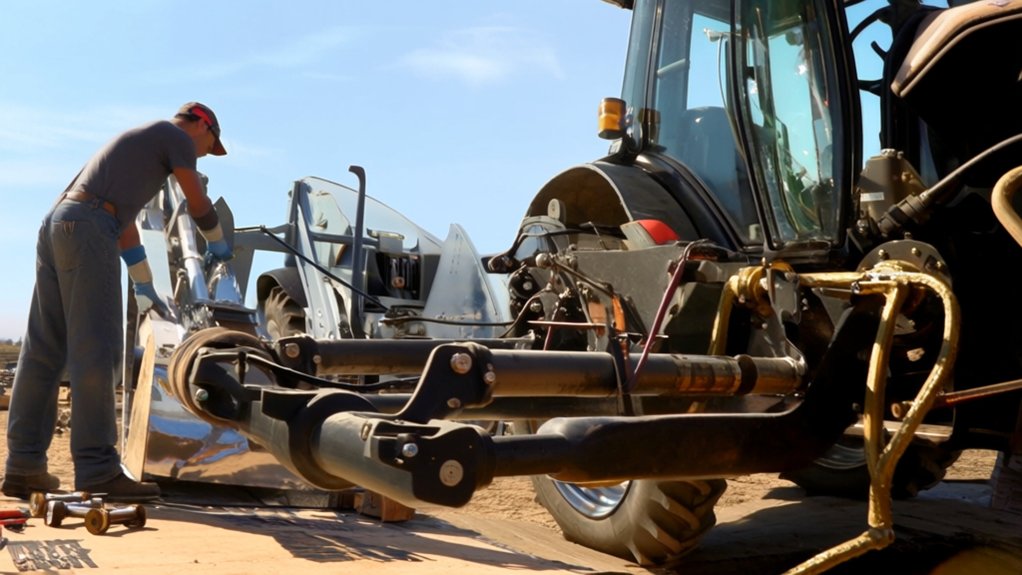
10 Steps to Install a Backhoe Attachment on Your Tractor
To install a backhoe attachment on your tractor, first choose one that matches your tractor’s horsepower and hitch type. Gather necessary tools and safety gear, then prepare your tractor by securing it on level ground and disconnecting the battery. Position the backhoe centered behind the tractor, secure mounting brackets tightly, and attach stabilizer legs ensuring proper alignment. Test controls for smooth operation and troubleshoot any issues. Keep it well-maintained to guarantee longevity. Follow these essential steps, and you’ll be ready for efficient, safe digging tasks.
Key Takeaways
- Verify tractor compatibility with backhoe size, hydraulic flow, and mounting system before installation.
- Position the backhoe centered behind the tractor with support legs on firm, level ground for stability.
- Securely align and tighten mounting brackets and connect hydraulic hoses following manufacturer torque specifications.
- Attach stabilizer legs evenly, ensuring they pivot freely and rest flat on solid ground for balance.
- Test all controls for smooth operation, check hydraulic fluid levels, and inspect for leaks before use.
Choose the Right Backhoe Attachment for Your Tractor
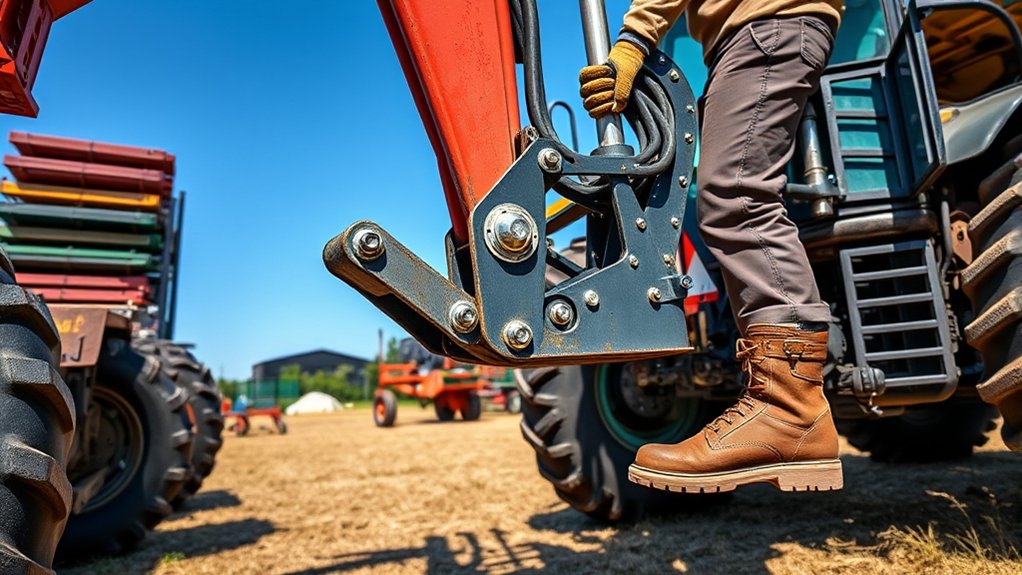
Before you begin installing a backhoe attachment, make sure you choose one that matches your tractor’s size and hydraulic capacity. If your backhoe is too big, it can overwhelm your tractor, causing strain or damage. Conversely, a smaller backhoe won’t perform efficiently.
Check your tractor’s specifications — especially horsepower and hydraulic flow rates — to find a compatible model. Also, consider the mounting system; it should align with your tractor’s frame for a secure fit.
Look for attachments designed specifically for your tractor brand or model, as they often ensure better compatibility.
Finally, think about the tasks you’ll tackle. Different backhoe models offer varied digging depths and reach, so choose one that fits your workload.
This careful selection saves you time and prevents costly mistakes.
Gather Tools and Safety Gear for Installation
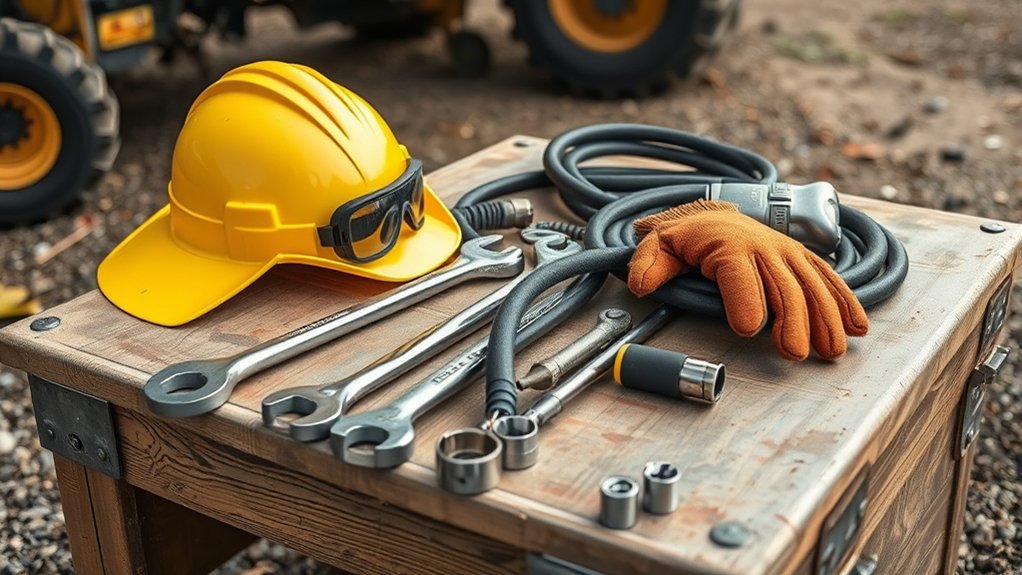
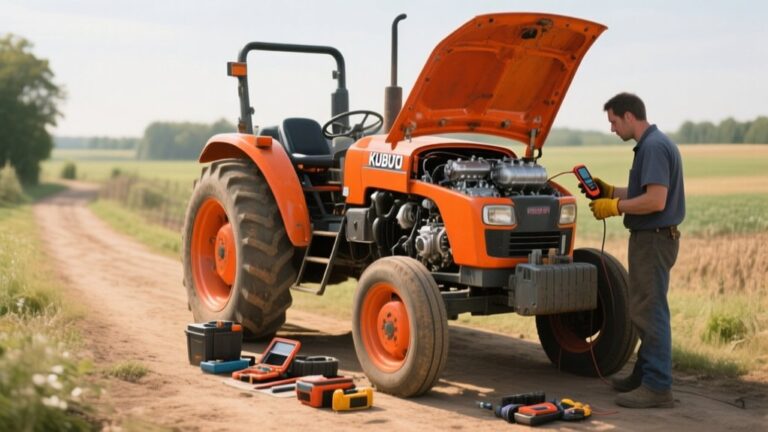
Although installing a backhoe attachment can be straightforward, you’ll need the right tools and safety gear to do it properly and protect yourself. Start by gathering essential tools: a wrench set, socket set, screwdrivers, and a hydraulic fluid funnel.
Installing a backhoe attachment is simple with the right tools and safety gear on hand.
You’ll also need a jack or hoist to safely lift the backhoe during installation.
For safety, put on sturdy gloves, safety glasses, and steel-toed boots to guard against injuries. A hard hat can protect your head from accidental bumps.
Keep a fire extinguisher nearby when working with hydraulic components, just in case. Having a first aid kit on hand is also smart.
Prepare Your Tractor for Backhoe Installation
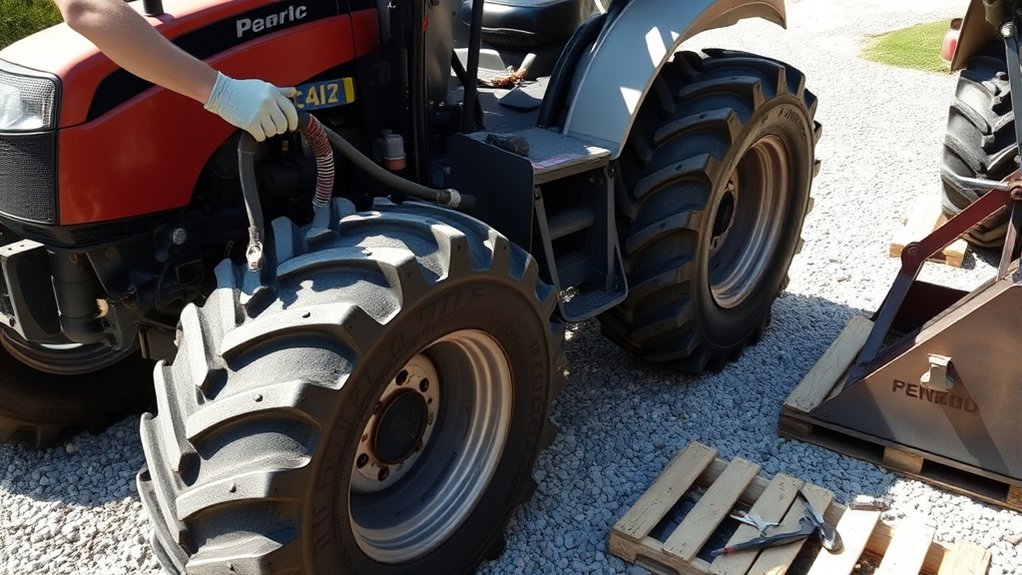
Before you start, make sure your tractor is compatible with the backhoe attachment to avoid any issues.
Take time to set up all necessary safety precautions to protect yourself during installation.
These steps will help guarantee a smooth and safe process.
Tractor Compatibility Check
When you plan to install a backhoe attachment, you need to confirm that your tractor can handle the additional equipment. Start by checking your tractor’s horsepower rating; most backhoe attachments require a minimum of 20-50 horsepower depending on size.
Verify that your tractor has a compatible three-point hitch system and adequate hydraulic flow to power the backhoe’s movements. Also, make certain the tractor’s weight and stability meet the attachment’s demands to prevent tipping during operation.
Review your tractor’s manual or manufacturer specifications to confirm compatibility. If your tractor lacks the necessary hydraulic connections or structural support, you’ll need to address these before proceeding.
Taking these steps guarantees a secure fit and reliable performance once the backhoe is installed.
Safety Precautions Setup
After confirming your tractor’s compatibility with the backhoe attachment, you’ll want to focus on setting up safety precautions to protect yourself and your equipment. Start by parking your tractor on a flat, stable surface and engage the parking brake. Lower any attached implements to the ground to prevent accidental movement. Disconnect the tractor’s battery to avoid electrical hazards during installation. Always wear appropriate protective gear like gloves and safety glasses to shield yourself from debris and sharp edges.
- Verify the tractor is off and keys are removed before starting
- Clear the area around the tractor to avoid trip hazards
- Use proper lifting equipment when handling heavy backhoe parts
- Follow the manufacturer’s safety instructions closely
Position the Backhoe Attachment Correctly
Although it might seem straightforward, positioning the backhoe attachment correctly is essential for safe and effective operation. Start by aligning the backhoe directly behind your tractor, ensuring it sits squarely with the tractor’s centerline. This alignment helps maintain balance and prevents uneven wear during use.
Next, check that the attachment’s support legs are fully lowered and resting on firm ground to stabilize it. Make sure there’s enough clearance around the backhoe to avoid any obstructions when you begin connecting it.
Avoid tilting or shifting the attachment off-center, as this can compromise its function and your safety. Taking these steps now will make the installation smoother and help your backhoe perform reliably once mounted.
Secure the Mounting Brackets on Your Tractor
Now that the backhoe is positioned, align the mounting brackets carefully on your tractor.
Make certain everything fits snugly before you start tightening the bolts.
Secure the brackets firmly to guarantee the attachment stays stable during use.
Align Brackets Precisely
When you secure the mounting brackets on your tractor, make certain to align them precisely to guarantee a stable fit for the backhoe attachment. Misalignment can cause uneven stress and reduce the backhoe’s effectiveness.
Use a level and measuring tape to check the brackets from all angles. Here’s what you should focus on:
- Ensure brackets sit flush against the tractor frame without gaps
- Confirm equal distance from the tractor’s centerline on both sides
- Use a straightedge to verify that brackets are parallel to the ground
- Double-check alignment before moving to the next step to prevent adjustment issues later
Precision here sets the foundation for safe operation and smooth performance once the backhoe is fully installed. Take your time to get it right.
Tighten Bolts Securely
Once you’ve aligned the brackets perfectly, you need to tighten the bolts securely to guarantee the mounting brackets hold firmly in place. Use a torque wrench to apply the recommended torque settings, preventing bolts from loosening during operation. Tighten bolts in a crisscross pattern to distribute pressure evenly and avoid misalignment. Double-check each bolt after initial tightening to ensure none are missed.
| Bolt Size (inches) | Torque Setting (ft-lbs) |
|---|---|
| 1/2 | 75 |
| 5/8 | 135 |
| 3/4 | 210 |
Following these steps will keep the backhoe mounted safely, ensuring stable and reliable tractor performance.
Connect Backhoe Hydraulic Hoses Correctly
Although connecting the backhoe hydraulic hoses may seem straightforward, doing it correctly is essential to guarantee your attachment operates smoothly and safely. Start by identifying each hose and its corresponding port on your tractor’s hydraulic system. Mixing these up can cause serious damage or poor performance.
Follow these steps to connect them properly:
- Clean all connectors and ports to avoid contamination.
- Attach hoses firmly but avoid overtightening to prevent leaks.
- Secure hoses with clamps or ties to keep them from rubbing against sharp edges.
- Test the hydraulic system at low pressure to check for leaks or unusual sounds before full operation.
Taking these precautions ensures your backhoe attachment works efficiently and prolongs the life of your tractor’s hydraulic components.
Attach Backhoe Stabilizer Legs
Before you operate the backhoe, you’ll need to attach the stabilizer legs securely to guarantee stability during digging. Start by positioning each leg under the backhoe’s mounting frame.
Align the holes on the stabilizer legs with the corresponding mounting points on the backhoe. Insert the pins or bolts provided with your attachment kit, ensuring they fit snugly through the holes.
Secure the pins with safety clips or locking mechanisms to prevent accidental detachment during use.
Tighten any bolts firmly with a wrench, but avoid overtightening to prevent damage.
Double-check that both legs are firmly attached and can pivot as needed for deployment.
Properly attached stabilizer legs will keep your tractor steady, preventing tipping and improving digging efficiency.
Check Stabilizer Alignment
After securely attaching the stabilizer legs, you need to check their alignment to guarantee your backhoe operates smoothly and safely. Proper alignment prevents uneven pressure and potential damage during digging.
Start by visually inspecting both legs to make certain they sit flat on the ground. Then, measure the distance between each leg and the tractor’s frame to confirm they’re evenly spaced. Adjust as necessary to maintain balance and stability.
Here’s what to focus on when checking stabilizer alignment:
- Make sure legs are fully extended and locked in place
- Verify legs rest evenly on solid, level ground
- Confirm symmetrical positioning relative to the tractor centerline
- Tighten all bolts and pins securing the legs after adjustments
Doing this helps maintain safe, efficient operation every time you use your backhoe.
Test Backhoe Controls and Troubleshoot Issues
Now that your stabilizers are aligned, test each backhoe control to make sure everything moves smoothly and responds correctly.
If you notice any lag or unusual noises, check common issues like hydraulic leaks or loose connections.
Catching these problems early will save you time and keep your tractor running safely.
Control Functionality Check
Since proper control functionality is essential for safe and efficient operation, you’ll want to thoroughly test all backhoe controls before use. Start by engaging each lever and switch to verify smooth, responsive movement. Check hydraulic cylinder reactions and listen for unusual noises. Confirm that the backhoe bucket, boom, and dipper arms respond accurately to your inputs.
Focus on these key areas during your control functionality check:
- Verify all control levers move freely and return to neutral.
- Inspect hydraulic fluid levels and look for leaks.
- Test each function individually—boom lift, bucket curl, swing, and dipper movement.
- Observe the backhoe’s response time and precision to your commands.
This thorough check helps you catch problems early, ensuring your backhoe operates safely and reliably.
Common Troubleshooting Tips
Although you’ve checked the controls carefully, you might still encounter issues when operating your backhoe attachment. Start by testing each control slowly to identify any unresponsive or erratic movements. If the backhoe doesn’t respond, check hydraulic fluid levels and look for leaks. Also, inspect hoses and connections for damage or blockages. Electrical issues can cause control failures, so verify wiring and fuses. If problems persist, consult the manual or a professional.
| Issue | Possible Cause | Quick Fix |
|---|---|---|
| Controls unresponsive | Low hydraulic fluid | Refill fluid and check leaks |
| Jerky movements | Air in hydraulic lines | Bleed the system |
| No power to controls | Blown fuse or wiring | Replace fuse or repair wiring |
Maintain Your Backhoe Attachment for Longevity
How often do you check your backhoe attachment to keep it running smoothly? Regular maintenance is key to extending its life and ensuring reliable performance.
Start by inspecting hydraulic hoses and connections for leaks or cracks.
Next, clean the attachment thoroughly after each use to prevent dirt buildup that can cause wear.
Don’t forget to lubricate all pivot points and joints to reduce friction and prevent rust.
Finally, check the mounting bolts and pins to make sure they’re tight and secure.
By following these simple steps, you’ll avoid costly repairs and downtime.
Keep a maintenance schedule and stick to it—your backhoe attachment will thank you with years of dependable service.
- Inspect hydraulic hoses and connections
- Clean thoroughly after each use
- Lubricate pivot points and joints
- Tighten mounting bolts and pins
Frequently Asked Questions
What Types of Tasks Can I Perform With a Backhoe Attachment?
You can dig trenches, remove tree stumps, break up hard soil, and move heavy materials with a backhoe attachment. It’s perfect for landscaping, construction, and farming tasks, making your work faster and more efficient.
How Do I Transport the Tractor With the Backhoe Attached Safely?
You’ll secure the backhoe in transport position, lock all pins, and use safety chains. Make sure the tractor’s weight is balanced on the trailer, drive slowly, and check local regulations for safe transport.
Can I Use the Backhoe Attachment on Uneven or Sloped Terrain?
You can use the backhoe on uneven or sloped terrain, but you must move slowly, stabilize carefully, and avoid sudden turns. Keep your balance steady, your controls smooth, and your focus sharp to work safely and effectively.
What Is the Average Lifespan of a Backhoe Attachment?
You can expect a backhoe attachment to last around 7 to 15 years, depending on how well you maintain it and how often you use it. Regular inspections and proper care will extend its lifespan greatly.
Are There Specific Tractor Models Incompatible With Backhoe Attachments?
You’ll find that around 15% of tractors aren’t compatible with backhoe attachments, usually due to size or hydraulic limits. Always check your tractor’s specs to make sure it can handle the attachment safely and effectively.
Conclusion
Now that you’ve installed your backhoe attachment, you’re ready to tackle tough digging jobs with ease. Did you know that using a backhoe can increase your productivity by up to 40% compared to manual digging? With proper setup and maintenance, your backhoe will serve you well for years. Keep checking your controls and stabilizers regularly to guarantee smooth operation. You’ve made a smart investment—happy digging!