How to Remove a Lawn Tractor Tire in 10 Easy Steps
To remove a lawn tractor tire in 10 easy steps, start by gathering tools like a lug wrench, jack, and wheel chocks. Secure the tractor on flat ground, engage the parking brake, and chock opposite wheels. Loosen lug nuts slightly, then lift the tractor safely with a jack. Remove lug nuts and pull off the tire. If needed, take the tire off the rim for repair or replacement. Reinstall the tire, tighten nuts in a star pattern, lower the tractor, and check stability. Stick around to get all the details and tips.
Key Takeaways
- Park the lawn tractor on a flat surface, engage the parking brake, and use wheel chocks for safety.
- Loosen the lug nuts slightly with a lug wrench before lifting the tractor.
- Use a sturdy floor jack to lift the tractor at a secure frame point near the tire.
- Fully remove lug nuts and carefully pull the tire off the rim, using a rubber mallet if stuck.
- Inspect the tire and rim for damage before reinstalling or replacing the tire.
Gather the Tools Needed to Remove a Lawn Tractor Tire
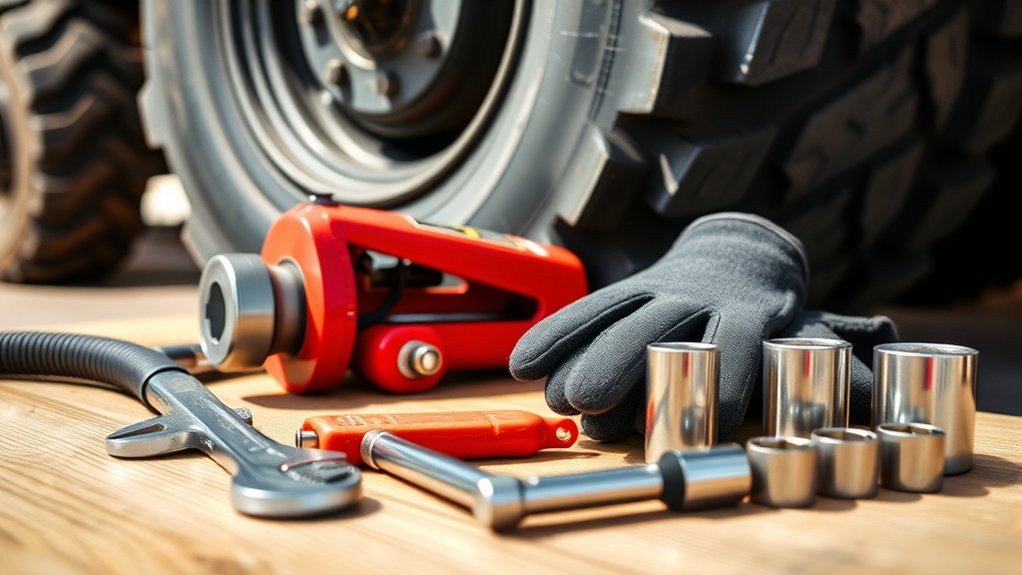
Before you begin removing your lawn tractor tire, make sure you have all the necessary tools on hand. You’ll need a lug wrench or socket set to loosen and remove the lug nuts.
A jack designed for lawn tractors or a sturdy floor jack will help lift the tractor safely. Keep a pair of gloves handy to protect your hands from dirt and sharp edges.
A tire iron or pry bar can be useful if the tire is stuck on the rim. Finally, have a block or wheel chock to prevent the tractor from rolling during the process.
Gathering these tools before you start will save you time and frustration, ensuring a smooth and safe tire removal.
Secure Your Lawn Tractor for Safe Tire Removal
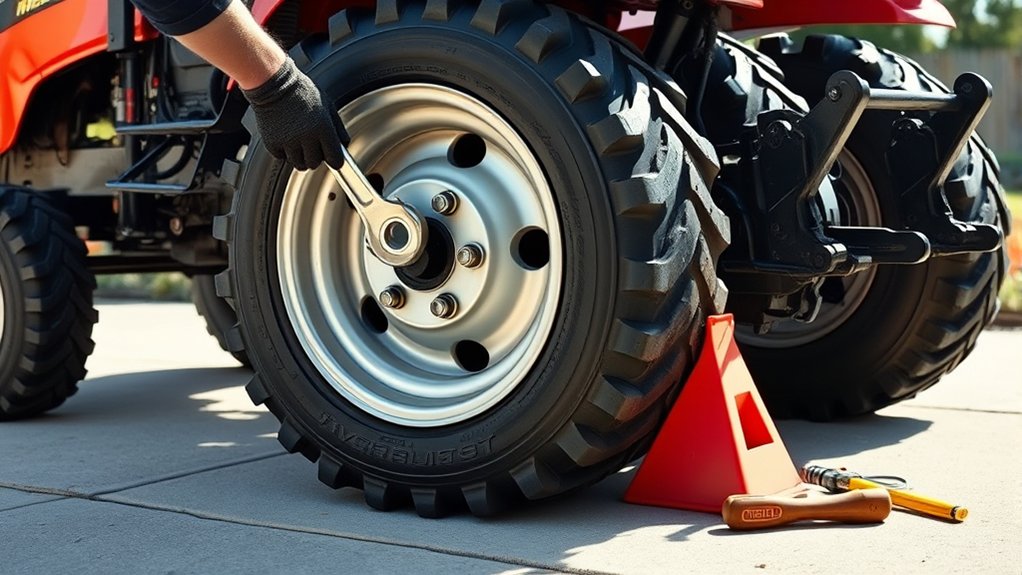
Before you start removing the tire, park your lawn tractor on level ground to keep it stable.
Make sure to engage the parking brake to prevent any movement.
For extra safety, place wheel chocks around the tires to keep the tractor securely in place.
Park on Level Ground
When you park your lawn tractor on a level surface, you guarantee stability and prevent accidental movement during tire removal. Find a flat, solid area like a driveway or garage floor to work on. Avoid slopes or uneven ground, as these increase the risk of the tractor shifting or tipping while you’re loosening lug nuts or removing the tire.
Make sure the ground is dry to avoid slipping hazards. Position the tractor so the tire you need to remove is easily accessible, giving you enough room to maneuver tools safely.
Taking this simple step sets a safe foundation for the entire process, letting you focus on removing the tire efficiently without worrying about unexpected movement or instability.
Engage Parking Brake
Since a secure lawn tractor prevents accidents, always engage the parking brake before removing a tire. This simple step locks the tractor’s wheels, stopping any unexpected movement while you work.
Locate the parking brake lever or pedal—usually positioned near the operator’s seat—and activate it fully until it clicks or feels firmly set.
Double-check that the tractor is stable by gently trying to move it; it shouldn’t roll. Engaging the brake reduces the risk of injury and damage by keeping the tractor stationary, especially on slight inclines or uneven surfaces.
Don’t skip this vital safety measure, as it’s your first line of defense against accidents during tire removal. Once the brake is engaged, you’re ready to proceed confidently with the next steps.
Use Wheel Chocks
Although engaging the parking brake holds your lawn tractor in place, using wheel chocks adds an extra layer of security by preventing any rolling or shifting during tire removal. Place the chocks firmly against the tires opposite the one you’re working on. This simple step keeps your tractor stable, especially on uneven ground. Always use wheel chocks made for the size and weight of your tractor to ensure maximum effectiveness.
| Step | Action | Tip |
|---|---|---|
| 1 | Select proper chocks | Use rubber or sturdy plastic |
| 2 | Position chocks | Place behind or in front tires |
| 3 | Check stability | Push tractor gently to test |
| 4 | Proceed with removal | Confirm parking brake engaged |
Loosen the Lawn Tractor Tire Lug Nuts
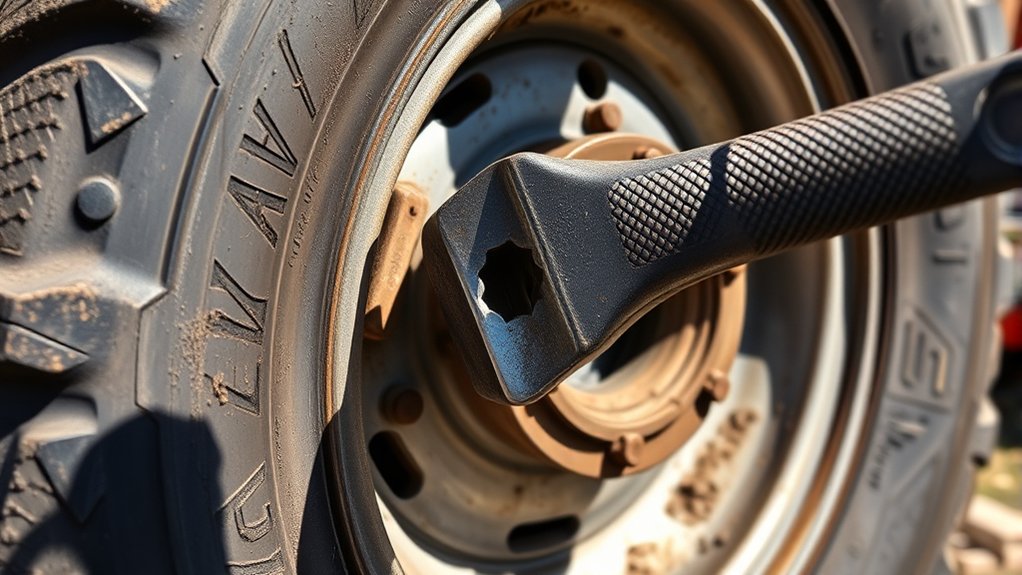
Before you lift the tractor, you’ll want to loosen the lug nuts on the tire to make removal easier. Use a lug wrench that fits the nuts snugly to avoid stripping them. Turn each nut counterclockwise, applying steady pressure.
If the nuts are tight, you can use your foot or a breaker bar for extra leverage, but be careful not to damage the wrench or the nuts. Loosening the lug nuts while the tire is still on the ground helps prevent the wheel from spinning.
Don’t remove the lug nuts completely yet; just break them free so they’ll come off effortlessly once the tractor is lifted. This step saves you time and effort later and guarantees a safer tire removal process.
Use a Jack to Lift the Tractor Safely
You’ll need the right jack to lift your lawn tractor safely without causing damage. Make sure to position the jack under a sturdy frame point to keep the tractor stable.
Taking these steps helps you avoid accidents while working on the tire.
Choosing The Right Jack
How do you guarantee your lawn tractor is lifted safely and securely? Choosing the right jack is essential. You need one specifically designed to handle the weight of your lawn tractor, which usually ranges between 500 to 1,000 pounds.
Hydraulic floor jacks or bottle jacks are excellent choices because they provide stable lifting power and control. Make sure the jack’s weight capacity exceeds your tractor’s weight to avoid accidents.
Also, consider the jack’s lifting range—ensure it can reach the tractor’s lifting points without overextending. Avoid using jacks meant for cars or trucks, as their size and lifting points may not align properly with your tractor.
Selecting the right jack sets the foundation for a safe and efficient tire removal process.
Positioning The Jack Properly
Selecting the right jack gives you the confidence to lift your lawn tractor safely. Next, position the jack under a solid frame point near the tire you want to remove. Avoid placing it on weak spots like plastic parts or the axle. Make certain the jack’s saddle sits flat and centered to prevent slipping.
Here’s a quick guide for positioning:
| Jack Type | Position Location | Tip |
|---|---|---|
| Floor Jack | Tractor frame beam | Center saddle under beam |
| Bottle Jack | Strong axle section | Use a wooden block for grip |
| Scissor Jack | Lift point marked | Align carefully to avoid tilt |
Proper positioning guarantees a safe lift without damage.
Ensuring Stable Tractor Lift
Before lifting the tractor, make sure it’s on a flat, stable surface to prevent any wobbling or shifting.
Position your jack under the designated lift point, usually specified in your tractor’s manual, to avoid damage.
Slowly pump the jack handle, raising the tractor steadily.
Keep an eye on the tractor’s balance as you lift, stopping if you notice any instability.
Once the tire is off the ground, place jack stands or blocks under the frame to support the weight securely.
Never rely solely on the jack to hold the tractor up while you work.
Double-check that the tractor is stable before removing the tire.
Taking these safety steps assures you won’t risk injury or damage during the tire removal process.
Remove the Lug Nuts and Take Off the Tire
Where should you start when removing the tire? Begin by locating the lug nuts securing the tire to the tractor. Use a lug wrench or socket wrench that fits the lug nuts snugly. Turn the wrench counterclockwise to loosen each lug nut. It’s best to loosen them while the tire is still slightly on the ground to prevent it from spinning.
Once all lug nuts are loose, fully raise the tractor if you haven’t yet, ensuring it’s stable on jack stands. Now, remove the lug nuts entirely and set them aside in a safe spot.
Carefully pull the tire straight off the wheel hub. If it’s stuck, gently wiggle or tap it with a rubber mallet to free it without causing damage.
Inspect the Tire and Rim for Damage or Wear
After removing the tire, closely examine both the tire and rim for any signs of damage or wear. Look for cracks, punctures, or uneven tread on the tire. Check the rim for bends, rust, or corrosion that could affect performance. Catching issues early helps prevent future breakdowns and guarantees safe operation.
| Tire Inspection | Rim Inspection |
|---|---|
| Cracks or cuts in rubber | Bent or warped metal |
| Uneven or worn tread | Rust or corrosion patches |
| Embedded debris or nails | Loose or damaged lug holes |
If you spot damage, plan for repair or replacement before reinstalling the tire. This step keeps your lawn tractor running smoothly.
Take the Tire Off the Rim (If Needed)
If you need to replace or repair the tire itself, you’ll have to separate it from the rim. Start by deflating the tire completely to avoid any accidents.
Use a tire iron or a specialized tire removal tool to carefully pry the tire bead away from the rim edge. Work your way around the rim, loosening the tire gradually. Be patient and avoid damaging the rim or the tire bead.
Once one side is free, pull the tire off that side of the rim. Then, repeat the process on the opposite side to fully remove the tire.
If the tire is stubborn, applying soapy water around the bead can help loosen it. Remember to keep your hands clear and work methodically to guarantee safety throughout the process.
Repair or Replace Worn Tire and Rim Parts
Once you’ve removed the tire from the rim, inspect both for signs of wear or damage. Check the tire for cracks, punctures, or excessive tread wear—any of these may mean it’s time to replace it.
Look closely at the rim for bends, rust, or corrosion that could affect the tire’s seal. If you spot minor rust, clean it off with a wire brush and apply rust inhibitor to prevent further damage.
Bent rims usually need replacement, as they can cause air leaks or uneven wear.
For worn or damaged valve stems, replace them to ensure proper inflation.
Taking these steps will help you avoid future problems and extend the life of your lawn tractor’s tires and rims.
Reinstall the Lawn Tractor Tire and Tighten Lug Nuts
Now that you’ve repaired or replaced the tire, it’s time to put it back on.
Make certain to align the tire properly with the wheel hub before securing it.
Tighten the lug nuts firmly to ensure the tire stays in place during use.
Align Tire Correctly
Before you reinstall the tire, make sure the wheel hub and rim are clean and free of debris to guarantee a proper fit. Now, align the tire correctly by matching the holes in the rim with the wheel studs on the hub. This secures the tire sits evenly and safely on the axle. Hold the tire firmly against the hub while positioning it. Once aligned, start threading the lug nuts by hand to avoid cross-threading.
| Step | Action |
|---|---|
| 1 | Clean wheel hub and rim |
| 2 | Match rim holes to wheel studs |
| 3 | Hold tire firmly in place |
| 4 | Thread lug nuts by hand |
| 5 | Secure tire sits evenly |
Proper alignment prevents wobbling and uneven wear.
Secure Lug Nuts Tight
Although you’ve already threaded the lug nuts by hand, you’ll need to tighten them securely using a wrench to guarantee the tire stays firmly in place during operation.
Use a star or crisscross pattern to tighten the lug nuts evenly, preventing the wheel from wobbling or becoming misaligned. Start by snugging each nut just enough, then gradually increase the torque with each pass.
Avoid tightening one lug nut fully before moving to the next; this helps distribute pressure evenly across the wheel.
Once all nuts feel tight, give them a final check with the wrench to confirm they’re secure.
Properly tightened lug nuts keep your lawn tractor running smoothly and reduce the risk of accidents caused by loose wheels.
Lower the Tractor and Perform a Final Safety Check
Once you’ve securely replaced the tire, carefully lower the tractor back to the ground to avoid any sudden shifts. Use the jack or lift mechanism slowly and steadily, verifying the tire makes full contact with the surface.
Lower the tractor slowly and steadily, ensuring the tire sits firmly and safely on the ground.
Once lowered, remove the jack and clear the area beneath the tractor.
Now, perform a final safety check: double-check the lug nuts to confirm they’re tight, spin the tire to make sure it rotates smoothly without wobbling, and inspect for any signs of misalignment or damage.
Also, confirm the tractor is stable and won’t roll or shift unexpectedly.
Taking these precautions helps guarantee your lawn tractor is safe to use and prevents accidents during operation.
You’re now ready to get back to work with confidence.
Frequently Asked Questions
How Often Should I Replace My Lawn Tractor Tires?
You should replace your lawn tractor tires every 3-5 years or when you notice significant wear, cracks, or damage. Regularly check them to guarantee safety and peak performance, especially if you use your tractor often.
What Type of Tire Is Best for Different Terrains?
You’ll want turf tires for smooth lawns, lugged tires for muddy or rough terrain, and industrial tires for heavy-duty use. Match the tire type to your terrain to improve traction and protect your lawn or work surface.
Can I Use Car Tires on a Lawn Tractor?
You can’t just slap car tires on your lawn tractor—they’re like trying to fit a spaceship tire on a bicycle! Car tires won’t grip or fit properly, so stick to tires designed for your tractor’s terrain and size.
How Do I Store Lawn Tractor Tires During Winter?
You should clean and dry your lawn tractor tires thoroughly, then store them in a cool, dry place away from direct sunlight. Keep them off the ground on a pallet or shelf to prevent flat spots during winter storage.
What Are Signs My Lawn Tractor Needs a Tire Upgrade?
You’ll know it’s time for a tire upgrade if you notice frequent flats, uneven tread wear, cracks, or poor traction. If your tractor struggles on slopes or rough terrain, those tires definitely need replacing soon.
Conclusion
Now that you’ve gathered your tools, secured your tractor, and loosened the lug nuts, you’re ready to lift, remove, and repair the tire. You’ll reinstall, tighten, and lower the tractor with confidence. Remember to check your work for safety and stability. By following these steps, you’ll remove your lawn tractor tire quickly, efficiently, and safely every time. Keep your equipment in top shape and enjoy a smooth, worry-free ride.