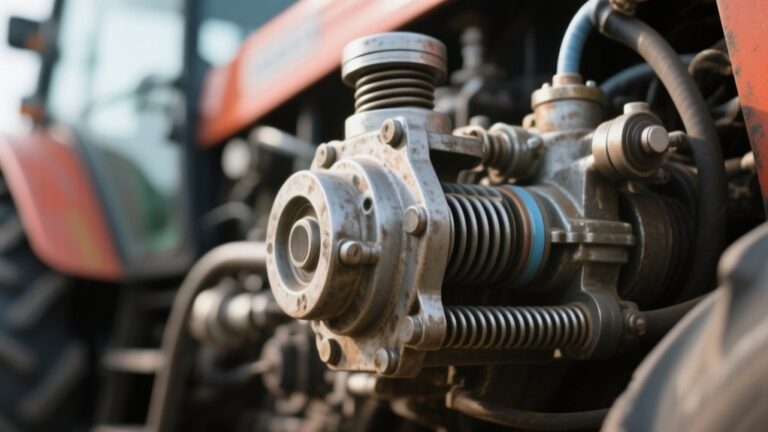
10 Steps to Get Air Out of Your Tractor Hydraulic System
To get air out of your tractor’s hydraulic system, first park on level ground, secure the tractor, and turn off the engine. Safely relieve any hydraulic pressure by cycling the controls fully. Locate and slightly loosen the bleed screws near cylinders or valves. Operate the hydraulic controls slowly to push trapped air out, watch for steady fluid flow, then tighten screws securely. Check and refill hydraulic fluid as needed, and test system response for smooth operation. Want to know how to fine-tune this process and guarantee lasting system health?
Key Takeaways
- Park tractor on level ground, engage parking brake, and ensure engine is off before starting the bleeding process.
- Locate and slightly loosen bleed screws near hydraulic cylinders or valve blocks to allow trapped air to escape.
- Slowly operate hydraulic controls through their full range multiple times to push air bubbles out of the system.
- Replenish hydraulic fluid to recommended levels using clean tools, ensuring no air is introduced during refilling.
- Tighten bleed screws securely, then test system pressure and hydraulic function for smooth, bubble-free operation.
Why Air in Your Tractor’s Hydraulic System Matters
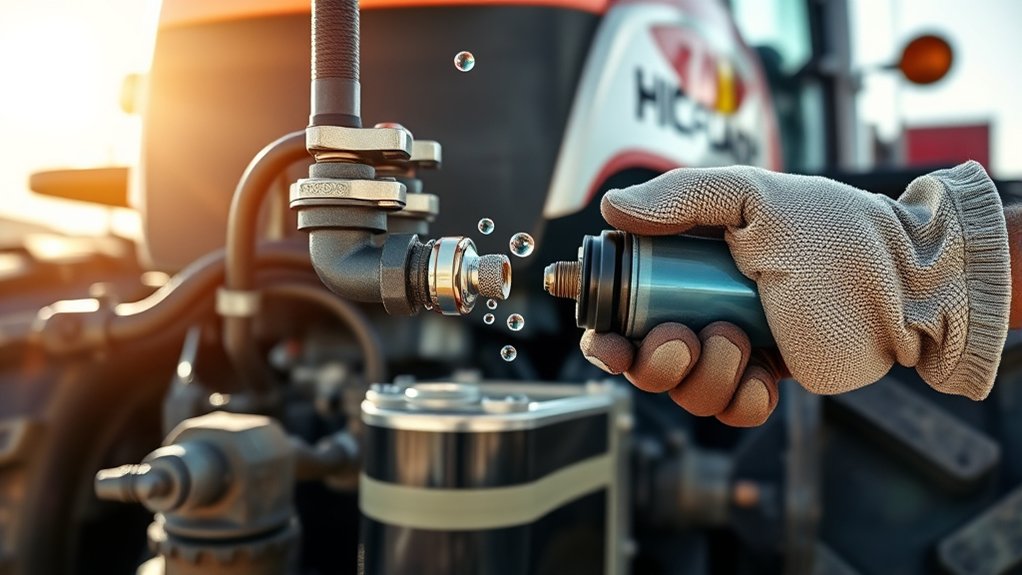
Although you mightn’t notice it right away, air trapped in your tractor’s hydraulic system can cause serious performance issues. When air enters the system, it compresses under pressure, unlike hydraulic fluid, which is nearly incompressible.
This compression leads to spongy or erratic operation of your controls, making tasks less precise and more frustrating. You’ll likely experience sluggish response or jerky movements, which increase wear on components and reduce overall efficiency.
Air pockets can also cause cavitation, damaging pumps and valves over time. Ignoring this issue may result in costly repairs and downtime.
Tools Needed to Bleed Your Tractor’s Hydraulic System
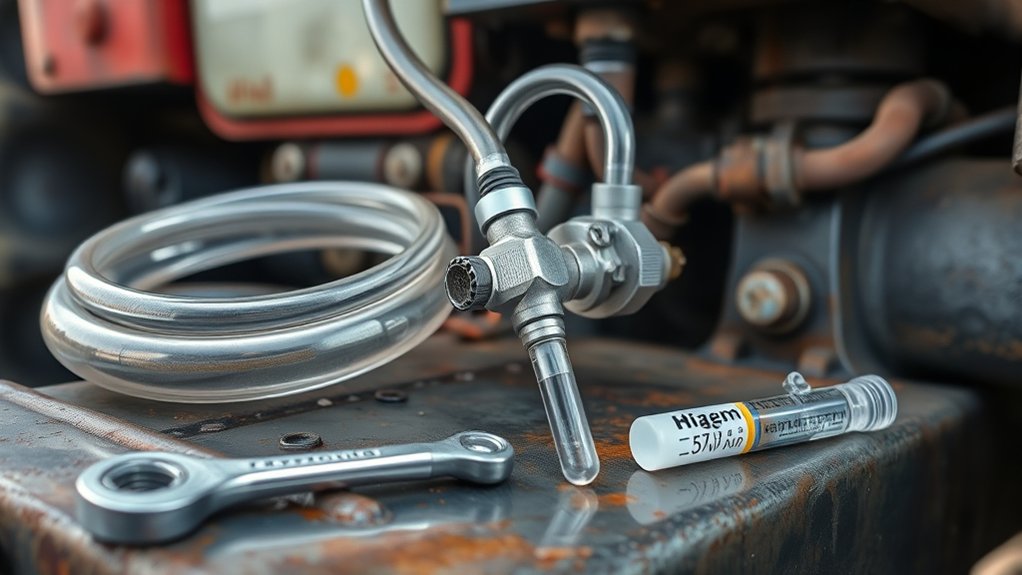
To effectively bleed your tractor’s hydraulic system, you’ll need a handful of essential tools that make the process straightforward and efficient. Having the right gear ensures you can remove trapped air without hassle or damage.
Proper tools simplify bleeding your tractor’s hydraulics, ensuring trapped air is removed safely and efficiently.
Here’s what you should gather:
- Hydraulic fluid matching your tractor’s specifications
- Clean rags to wipe spills and keep components clean
- Wrenches or spanners for loosening bleed screws or fittings
- A clear plastic hose to attach to the bleed valve and safely direct fluid
- A catch container to collect expelled hydraulic fluid
With these tools ready, you’ll be equipped to bleed the system properly and maintain your tractor’s hydraulic performance.
Park and Secure Your Tractor Before Bleeding

Before you start bleeding the hydraulic system, park your tractor on level ground to keep it stable. Make certain to engage the parking brake so it won’t move during the process.
Finally, turn off the engine to ensure safety while you work.
Choose Level Ground
Find a flat, stable spot to park your tractor before you start bleeding the hydraulic system. Choosing level ground is vital to prevent fluid from shifting unevenly, which can trap air or cause inaccurate bleeding.
Here’s what to keep in mind when selecting the right spot:
- Avoid slopes or uneven terrain to keep your tractor steady.
- Look for hard-packed soil, concrete, or stable gravel surfaces.
- Make sure the area is free from debris that could interfere with your work.
- Check that the spot allows easy access to hydraulic components.
- Confirm the ground can support your tractor’s weight without sinking.
Engage Parking Brake
Although you’ve parked on level ground, you’ll want to engage the parking brake firmly to keep your tractor from moving while you work. This step is vital for your safety and the effectiveness of bleeding the hydraulic system.
A securely engaged parking brake ensures the tractor stays stationary, preventing any accidental shifts or rollaways. Before you start, double-check that the brake is fully set by gently trying to move the tractor. If it moves, adjust and re-engage the brake until it holds tight.
This simple action stabilizes your tractor, giving you peace of mind and allowing you to focus on removing air from the hydraulic system without any unexpected movement. Always prioritize safety by locking the tractor in place first.
Turn Off Engine
Once you’ve firmly engaged the parking brake, the next step is to turn off your tractor’s engine. This guarantees the hydraulic system is safe to work on and prevents accidental movement.
Before you start bleeding air, make sure to:
- Switch off the ignition key completely
- Remove the key to prevent accidental restarts
- Allow the engine to cool down if it’s hot
- Keep the tractor in neutral or park gear
- Inform anyone nearby that maintenance is underway
Turning off the engine secures your tractor and reduces pressure in the hydraulic system. This step is vital for your safety and helps the bleeding process go smoothly without unexpected hazards.
Always double-check that your tractor is fully powered down before proceeding.
How to Relieve Hydraulic Pressure Safely
Before you start working on your tractor’s hydraulic system, you need to relieve the hydraulic pressure to avoid injury or damage. Begin by making sure the engine is off and the key is removed to prevent accidental starts.
Next, operate the hydraulic controls slowly through their full range of motion several times. This action releases built-up pressure in the lines and cylinders.
Keep your hands and body clear of hydraulic components while doing this, as residual pressure can cause sudden movements or fluid spray.
If your tractor has a pressure relief valve, carefully open it following the manufacturer’s instructions to drain any remaining pressure.
Taking these steps guarantees the system is safe to work on, protecting you from high-pressure fluid hazards before you proceed to the next step.
Locate the Hydraulic Bleed Screws on Your Tractor
To start bleeding air from your tractor’s hydraulic system, you’ll need to locate the hydraulic bleed screws first. These screws let trapped air escape, so finding them correctly is crucial.
Here’s how to locate them quickly:
- Check your tractor’s service manual for exact bleed screw locations.
- Look near hydraulic cylinders or valve blocks where hydraulic lines connect.
- Identify small screws or plugs, often marked or colored differently.
- Inspect the hydraulic reservoir or pump area for additional bleed points.
- Use a flashlight to spot screws in dim or hard-to-reach places.
Knowing the bleed screw locations prepares you for the next step of releasing trapped air safely and efficiently. Take your time to be sure you’ve found all relevant screws before moving on.
Open the Bleed Screws to Let Air Escape
Although it might seem simple, opening the bleed screws carefully is key to releasing trapped air without causing hydraulic fluid to spill excessively. Start by loosening each screw just enough to hear the air hiss out. Don’t fully remove them; a slight turn is enough. Keep a rag handy to catch any drips. Watch for a steady stream of fluid—when you see it, close the screw tightly.
| Step | Action | Tip |
|---|---|---|
| 1 | Locate bleed screws | Use wrench or pliers |
| 2 | Loosen screws slightly | Listen for air escaping |
| 3 | Catch drips with rag | Prevent fluid mess |
| 4 | Tighten screws when done | Stop when fluid flows steady |
Use Hydraulic Controls to Push Out Air
Once you’ve loosened the bleed screws, start operating the hydraulic controls slowly to force trapped air toward the openings. This helps push the air out efficiently without causing pressure spikes. Focus on gentle, steady movements to avoid introducing more air.
Here’s how to do it effectively:
- Move the lift arms up and down several times.
- Operate the bucket or implement controls smoothly.
- Cycle auxiliary hydraulic functions if equipped.
- Pause occasionally to let air bubbles rise.
- Watch the bleed screws for escaping air and fluid.
Keep repeating these steps until you see a steady stream of hydraulic fluid without air bubbles. This confirms the system is purged and ready for the next step.
Check and Refill Hydraulic Fluid Levels
As you finish pushing the air out and see a steady flow of fluid from the bleed screws, it’s important to verify the hydraulic fluid levels next. Low fluid can cause more air to enter the system, undoing your progress.
Locate the reservoir dipstick or sight gauge, then remove the dipstick or look through the gauge to check the fluid level.
Find the reservoir dipstick or sight gauge to accurately check the hydraulic fluid level.
If the level is below the recommended mark, add the appropriate hydraulic fluid slowly to avoid introducing more air. Use a clean funnel to pour the fluid to prevent contamination.
After refilling, recheck the level to ensure it’s correct. Maintaining proper fluid levels helps keep the system sealed and running smoothly, minimizing the chance of air re-entering the hydraulic lines.
Tighten Bleed Screws to Stop Leaks
A crucial next step is tightening the bleed screws to stop any leaks and keep air from re-entering the hydraulic system. You want a secure seal to maintain proper pressure and avoid contamination.
Here’s how to do it effectively:
- Use the correct size wrench to avoid stripping screws.
- Tighten screws gradually and evenly to prevent damage.
- Check for any fluid seepage as you tighten.
- Avoid overtightening; stop once you feel resistance.
- Clean around screws before and after tightening to keep debris out.
Test Your Tractor’s Hydraulic System After Bleeding
Now that you’ve tightened the bleed screws, it’s time to test your tractor’s hydraulic system. Check the hydraulic pressure levels and operate all hydraulic functions to guarantee everything runs smoothly.
Keep an eye out for any air bubbles in the fluid, as they can signal remaining air in the system.
Inspect Hydraulic Pressure Levels
How can you be sure the air is fully out of your tractor’s hydraulic system? The key is to inspect the hydraulic pressure levels after bleeding. Use a pressure gauge to check if the system maintains consistent pressure without sudden drops or fluctuations.
Here’s how to proceed:
- Attach the pressure gauge to the designated test port.
- Start the engine and let the system build pressure.
- Observe the gauge readings for stability.
- Compare the readings to your tractor’s manual specifications.
- Look for any unusual spikes or drops indicating trapped air or leaks.
If the pressure is steady and within range, you’ve likely removed the air. If not, repeat the bleeding process to guarantee proper hydraulic performance.
Operate Hydraulic Functions
Why should you operate the hydraulic functions immediately after bleeding the system? Doing so lets you confirm that the air has been successfully removed and that the system responds smoothly.
Start by engaging each hydraulic control slowly, watching for consistent movement and pressure. If the controls feel spongy or sluggish, you might need to bleed the system again.
Operating the functions also helps redistribute hydraulic fluid evenly, preventing new air pockets from forming. Be sure to test all attachments and implements connected to the tractor to ensure they respond properly.
This hands-on check gives you confidence that the hydraulic system is fully functional and safe to use. Don’t rush; thorough testing now saves you from potential downtime and costly repairs later.
Check For Air Bubbles
After operating your hydraulic functions to guarantee smooth response, the next step is to check for air bubbles in the system. Air trapped inside can cause jerky movements and reduce efficiency, so spotting bubbles early is essential.
Here’s how to effectively check for them:
- Inspect transparent hydraulic lines or reservoirs for visible bubbles.
- Listen for unusual noises like knocking or sputtering near the pump.
- Observe the hydraulic fluid level for unexpected drops.
- Watch for erratic or delayed responses in your hydraulic controls.
- Use a clean cloth to wipe fittings and look for foam or leaks.
If you spot bubbles, re-bleed the system or tighten fittings. This ensures your tractor’s hydraulic system runs smoothly and reliably.
Frequently Asked Questions
How Often Should I Bleed Air From My Tractor’s Hydraulic System?
You should bleed air from your tractor’s hydraulic system whenever you notice spongy controls, erratic movements, or after any maintenance involving hydraulic lines. Regular checks every few months help keep your system running smoothly and efficiently.
Can Using the Wrong Hydraulic Fluid Cause Air Buildup?
Using the wrong hydraulic fluid can definitely stir up trouble, like mixing oil and water. You’ll cause air bubbles to form, reducing efficiency and risking damage. Always stick to the manufacturer’s recommended fluid to keep things smooth.
What Symptoms Indicate Air in the Hydraulic System?
You’ll notice jerky or unresponsive hydraulic movements, strange noises like whining or knocking, and spongy or inconsistent lever action. These symptoms tell you there’s air trapped in your hydraulic system that needs attention.
Is Professional Service Needed if Bleeding Doesn’T Fix the Problem?
Yes, you should get professional service if bleeding doesn’t fix the problem. Persistent air might indicate leaks or damaged parts that need expert diagnosis and guarantee your tractor runs smoothly.
How Does Temperature Affect Air Accumulation in Hydraulics?
Isn’t it ironic that as temperature rises, air gets more comfortable dissolving into your hydraulic fluid? You’ll find warmer conditions increase air accumulation, making your system noisier and less efficient—definitely not the performance you want.
Conclusion
Now that you’ve tackled the air in your tractor’s hydraulic system, you’re basically a hydraulic hero! By following these steps, you’ve kept your tractor running smoother than a rocket on a mission. Remember, regular checks and proper bleeding prevent costly damage and downtime. Keep your tools handy and don’t skip any steps—your tractor will thank you with peak performance every time you hit the field. You’ve got this!