How to Sharpen Lawn Tractor Blades in 7 Easy Steps
To sharpen your lawn tractor blades in 7 easy steps, first gather tools like a wrench, wire brush, file, and safety gear. Inspect blades for damage, then safely remove them by securing the mower and loosening bolts. Clean and sharpen blades using a file or grinder, maintaining the bevel angle. Balance blades evenly before reinstalling them securely. Finally, test your mower to make certain a smooth, clean cut. Keep going to discover tips for perfect blade maintenance.
Key Takeaways
- Disconnect the spark plug and secure the mower before removing blades with a wrench or socket set.
- Inspect blades for damage, rust, and dullness to decide if sharpening or replacement is needed.
- Clean blades thoroughly using a wire brush before sharpening to remove dirt and rust.
- Sharpen blades evenly with a file or grinder, maintaining the original bevel angle and avoiding overheating.
- Balance blades on a pivot point to ensure even weight distribution before reinstalling securely.
Gather Tools for Sharpening Lawn Tractor Blades
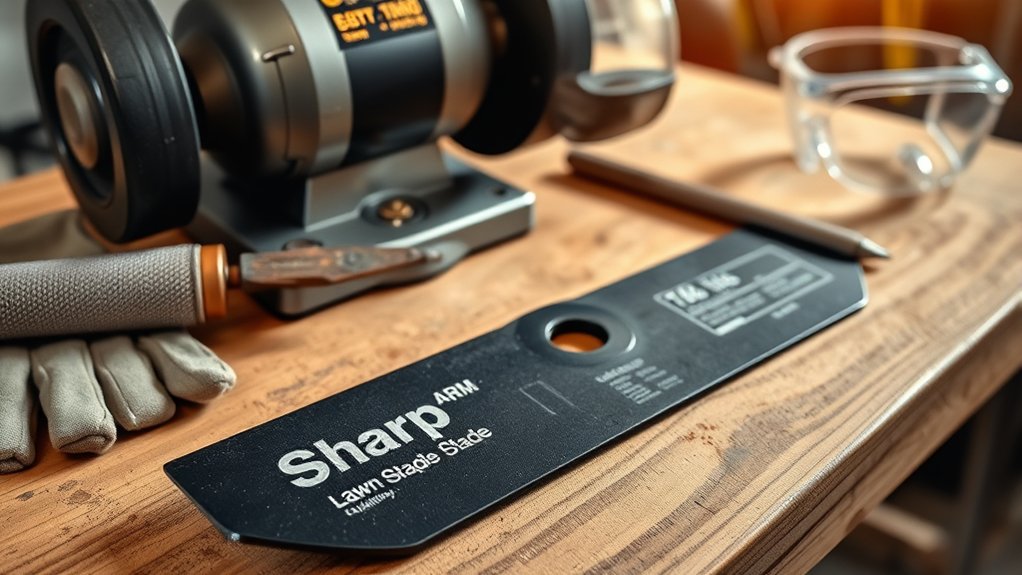
Before you begin sharpening your lawn tractor blades, gather all the necessary tools to guarantee a smooth process. You’ll need a sturdy wrench or socket set to remove the blades, a wire brush to clean off dirt and rust, and a clamp or vice to hold the blade securely while you work.
A file or a bench grinder will help you sharpen the edges efficiently. Don’t forget safety gear—wear gloves to protect your hands and safety glasses to shield your eyes from metal shards. It’s also helpful to have a flat surface or workbench to keep everything steady.
Having these tools ready ensures you won’t waste time searching mid-task and helps you sharpen your blades safely and effectively.
Check Blades for Damage Before Removing Them
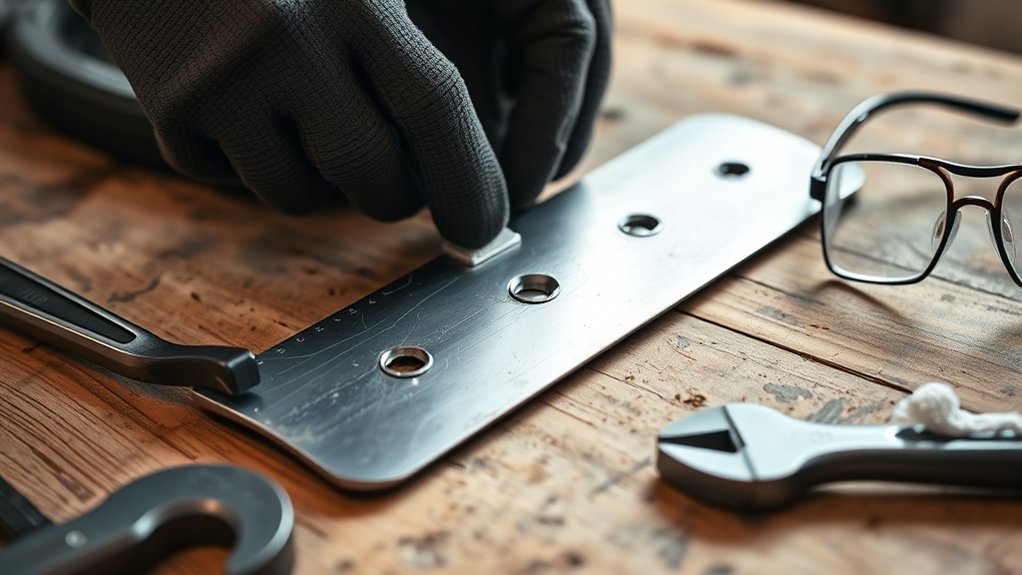
Before you remove the blades, carefully inspect them for any cracks or signs of damage.
Check for rust spots and areas where the metal looks worn down.
Catching these issues early can help you decide if the blades need repair or replacement.
Inspect Blades For Cracks
Although it might be tempting to remove the blades right away, you should carefully inspect them for cracks and other damage first. Cracks can weaken the blade, making it unsafe to use and difficult to sharpen properly. Use a flashlight to check both sides, especially near the mounting holes and cutting edges.
Here’s a quick checklist to guide your inspection:
| What to Check | Why It’s Important |
|---|---|
| Cracks near edges | Can cause blade breakage during use |
| Cracks near holes | May lead to blade detachment |
| Small fractures | Often worsen over time |
| Visible bends or warps | Affect cutting performance |
If you spot any cracks, replace the blade rather than sharpening it. Safety first!
Identify Rust And Wear
Since rust and wear can greatly affect your lawn tractor blade’s performance, you need to carefully examine each blade for these issues before removing them.
Rust weakens the metal, causing uneven cuts or even blade failure. Wear can dull edges and create nicks that reduce cutting efficiency. Look closely for any signs that might compromise safety or performance.
Check for:
- Patches of rust, especially near the cutting edge
- Worn or rounded edges that no longer appear sharp
- Deep scratches or pitting on the blade surface
- Flaking or peeling metal layers
- Areas where the blade looks thinner from excessive wear
Identifying these problems early helps you decide if sharpening is enough or if replacement is necessary.
Safely Remove Lawn Tractor Blades
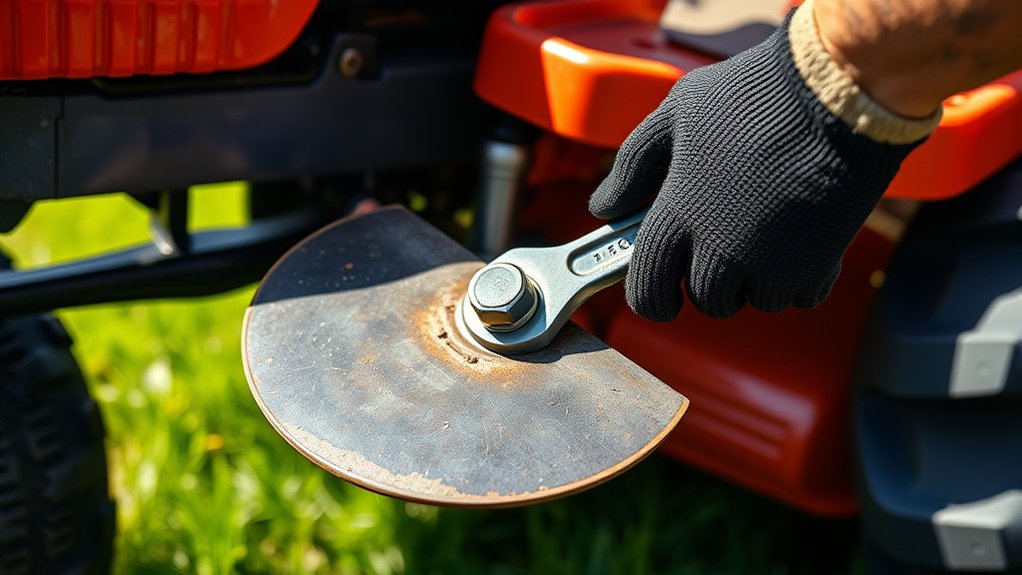
When you’re ready to remove the lawn tractor blades, make sure the engine is off and the ignition key is out to prevent accidental starts.
Next, disconnect the spark plug wire to eliminate any chance of the engine sparking.
Wear sturdy gloves to protect your hands from sharp edges.
Tilt the mower deck or raise the tractor using a jack or ramps to access the blades easily.
Use a wrench or socket set to loosen the bolt securing each blade.
Hold the blade steady with a block of wood to prevent it from turning while you unscrew the bolt.
Carefully remove the blade and place it on a flat surface.
Keep track of any washers or spacers for reassembly.
Now, you’re ready for the next step.
Sharpen Lawn Tractor Blades With a File or Grinder
Before you begin sharpening, make sure the blade is clean and free of debris so you can see the edges clearly.
Choose between a metal file or an angle grinder based on your comfort and the blade’s condition.
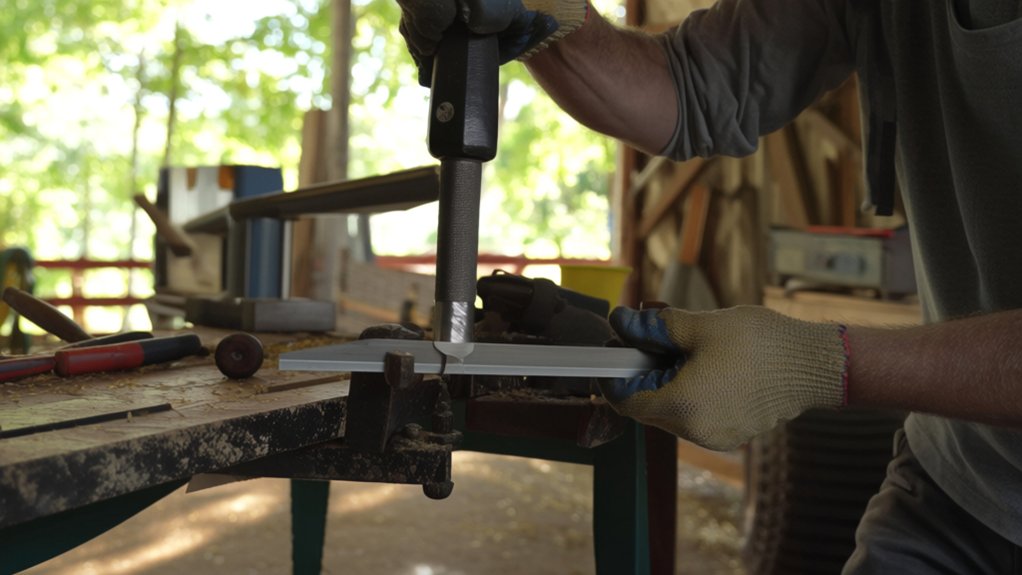
If using a file, secure the blade and sharpen the cutting edge with smooth, even strokes, following the original bevel angle.
For a grinder, wear eye protection and gently touch the blade edge to the grinding wheel, moving steadily to avoid overheating.
Keep these tips in mind:
- Work in a well-lit area
- Maintain the blade’s original angle
- Sharpen both sides evenly
- Avoid removing too much metal
- Clean the blade after sharpening
This guarantees sharpness and prolongs blade life.
Balance Lawn Tractor Blades for Even Cutting
After sharpening your lawn tractor blades, you’ll want to balance them to guarantee even cutting and prevent vibration. Grab a blade balancer or use a nail hammered into a wall as a makeshift pivot. Place the blade on the balancer, positioning it horizontally.
If one side dips lower, it’s heavier and needs to be filed down slightly. Remove small amounts from the heavier side and test again. Keep adjusting until the blade stays level on the pivot point.
Balanced blades spin smoothly and distribute weight evenly, which protects your mower’s engine and deck. Don’t skip this step—unbalanced blades cause uneven cuts and can damage your tractor over time.
Balancing ensures your freshly sharpened blades perform at their best every time you mow.
Reinstall Lawn Tractor Blades Correctly
Although sharpening and balancing your lawn tractor blades are crucial steps, reinstalling them correctly is just as important to guarantee safe and efficient operation.
When you put the blades back on, make sure you follow these essential steps:
- Align the blades properly with the mower deck.
- Tighten the blade bolts securely using a torque wrench.
- Double-check the blade rotation direction matches the original setup.
- Use thread-locking compound to prevent bolts from loosening.
- Wear gloves to protect your hands from sharp edges.
Test Your Lawn Tractor for a Clean, Smooth Cut
Once you’ve reinstalled the blades, take your lawn tractor for a test run to check its cutting performance.
Pay close attention to the grass and watch for any uneven patches or missed spots. This will help you spot if the blades need further sharpening or adjustment.
Inspect Cutting Performance
How can you tell if your lawn tractor blades need sharpening? Inspect the cutting performance closely after mowing. If your lawn looks uneven or ragged, it’s a clear sign the blades aren’t slicing cleanly. Check for grass clumps left behind or blades that appear torn instead of neatly cut. Also, if you notice your mower struggling to cut through thick patches, dull blades might be the culprit.
Look for these signs to evaluate your cutting performance:
- Grass blades with brown, frayed edges instead of crisp, clean cuts
- Uneven height across the lawn after mowing
- Excessive grass clippings scattered on the surface
- Increased mowing time or frequent clogging
- A noticeable decrease in overall mower efficiency
If you spot these issues, it’s time to sharpen your blades.
Identify Uneven Grass Patches
When you spot uneven grass patches after mowing, it’s a clear sign your lawn tractor blades aren’t delivering a clean, smooth cut. Uneven patches usually mean the blades are dull, chipped, or damaged.
Walk your lawn to examine these areas closely. Look for grass that appears ragged, torn, or inconsistently cut compared to the rest of your lawn. These irregularities indicate your blades need sharpening or replacement.
Testing your tractor’s cutting performance this way helps you identify problems early, ensuring your lawn looks healthy and neat. Once you notice these signs, it’s time to sharpen the blades to restore a clean cut and promote even grass growth.
Don’t delay—sharp blades make mowing easier and keep your lawn in top shape.
Frequently Asked Questions
How Often Should I Sharpen My Lawn Tractor Blades?
You should sharpen your lawn tractor blades at least twice a mowing season, or whenever you notice uneven cuts. If you mow frequently or over rough terrain, sharpening every 20-25 hours of use works best.
What Type of Metal Are Lawn Tractor Blades Typically Made Of?
Lawn tractor blades are typically made of high-carbon steel because it’s strong, durable, and holds a sharp edge well. You’ll want this metal to withstand impacts while cutting grass efficiently without dulling quickly.
Can Dull Blades Damage My Lawn Tractor’s Engine?
Yes, dull blades can strain your lawn tractor’s engine by forcing it to work harder. This extra effort can lead to overheating, reduced fuel efficiency, and potential engine damage over time, so keep those blades sharp!
Is It Better to Replace or Sharpen Severely Damaged Blades?
You’ll want to replace severely damaged blades since 70% of blade failures result from cracks or bends. Sharpening won’t fix structural damage, so swapping blades guarantees safety and ideal cutting performance for your lawn tractor.
How Do Weather Conditions Affect Blade Sharpness and Lawn Cutting?
You’ll find wet grass dulls blades faster and clogs your mower, while dry, tough grass wears them down unevenly. Cutting in extreme heat can also soften metal, reducing sharpness and affecting your lawn’s clean cut.
Conclusion
Now that you’ve sharpened your lawn tractor blades, you’re ready to cut through grass like a hot knife through butter. Keeping those blades sharp not only boosts your mower’s performance but also gives your lawn a smooth, even finish. Just follow these simple steps regularly, and your tractor will stay in tip-top shape. Remember, a little maintenance goes a long way in making your mowing easier and more enjoyable!