10 Steps to Level Land With a Tractor
To level land with a tractor, start by setting clear goals and marking boundaries using stakes and strings. Clear debris and obstacles, then inspect your tractor and attach the right equipment. Adjust soil moisture for easier grading. Begin rough grading with a blade, followed by fine grading using a box blade or land plane, checking levels regularly. Finish by compacting the soil and cleaning up the site. Keep following to uncover detailed tips that make your project smoother and more efficient.
Key Takeaways
- Define project goals, mark boundaries, clear debris, and inspect soil moisture before starting site preparation.
- Attach and secure appropriate leveling equipment, ensuring compatibility and proper soil moisture for effective grading.
- Perform rough grading by slowly pushing soil from high to low spots with a blade or box scraper.
- Fine-tune the surface using a box blade or land plane, maintaining levelness and checking frequently with leveling tools.
- Compact the soil with a roller, fix low spots, and clean the site for a stable, ready-to-use surface.
Plan Your Land Leveling Project: Define Goals and Scope
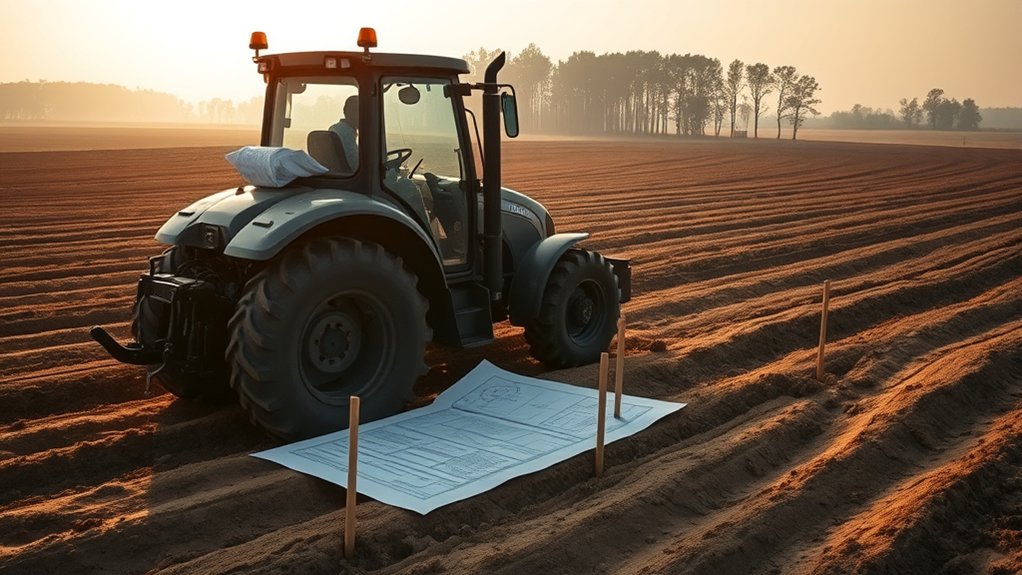
Before you start leveling your land with a tractor, you need to clearly define your goals and the project’s scope. Ask yourself what you want to achieve—whether it’s preparing a flat surface for planting, improving drainage, or creating a foundation for construction. Understanding the purpose helps you determine how much grading is necessary.
Next, consider the size of the area and any obstacles like trees, rocks, or slopes. This will influence the equipment and time you’ll need. Also, think about your budget and timeline to keep the project manageable.
Mark the Area Clearly Using Stakes and Strings
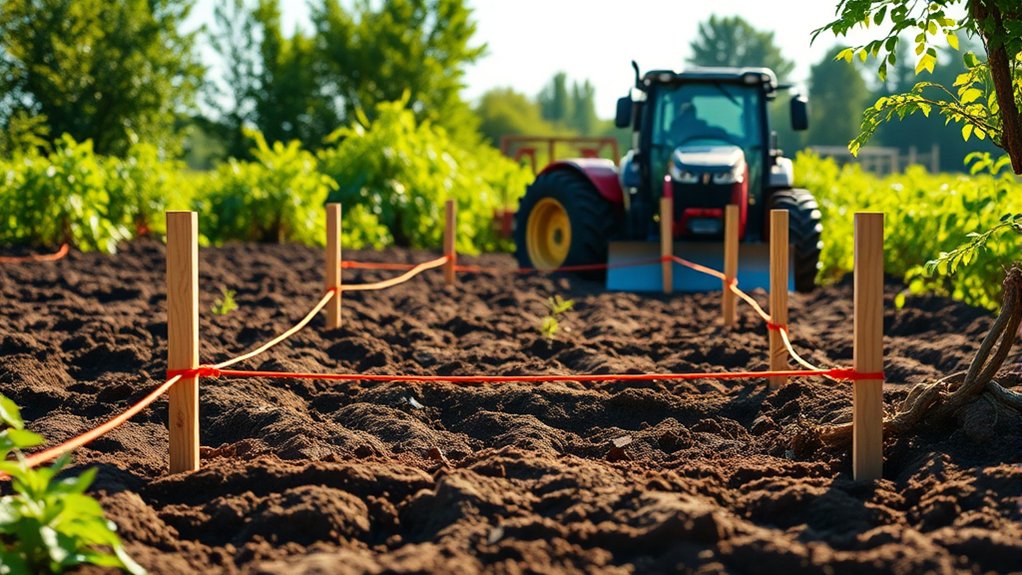
Once you’ve planned your project, mark the area clearly using stakes and strings to create a precise outline of your work zone. Start by driving stakes into the ground at each corner and important points. Then, run strings tightly between stakes to form straight lines, guaranteeing you define the exact boundaries. This setup helps you visualize the area and guides your tractor’s path for even leveling.
| Tool | Purpose | Tips |
|---|---|---|
| Stakes | Mark corners | Use durable wood or metal |
| Strings | Outline perimeter | Keep strings taut |
| Measuring Tape | Measure distances | Double-check spacing |
| Level | Check string height | Ensure consistent string height |
Marking accurately saves time and effort during leveling, so take your time with this step.
Clear Debris and Remove Obstacles From the Site
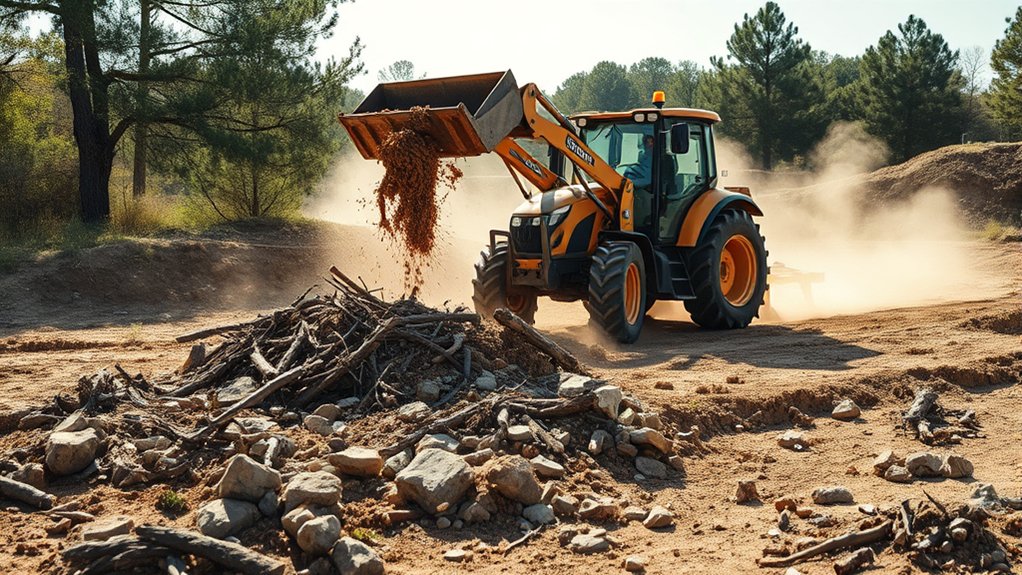
After marking your area with stakes and strings, the next step is to clear debris and remove any obstacles from the site. Walk the entire marked area and pick up rocks, branches, roots, and any trash that could damage your tractor or disrupt the leveling process.
Pay special attention to large stones or stumps that might interfere with your equipment. If you find stubborn roots or stumps, use a shovel or an axe to remove them.
Clearing these obstacles guarantees smooth tractor operation and prevents uneven leveling. Also, check for any underground utilities or irrigation lines before digging or grading.
Taking time now to thoroughly clear the site will save you headaches later and help you achieve a perfectly leveled surface.
Check Your Tractor and Hook Up the Right Equipment
Before you start leveling, make sure your tractor is in good working order.
Choose the right equipment for the job, like a box blade or land plane, and double-check your attachment points.
Securing everything properly will keep you safe and working efficiently.
Inspect Tractor Condition
While preparing to level land with your tractor, you need to inspect its condition thoroughly to guarantee it operates safely and efficiently. Start by checking the tires for proper inflation and any visible damage to maintain stability on uneven ground.
Next, examine the engine oil and coolant levels to prevent overheating or breakdowns during work.
Inspect hydraulic fluid levels and hoses for leaks or wear since these affect the tractor’s power and control.
Finally, test the brakes and steering to ensure responsiveness and safety while maneuvering the tractor.
Follow this checklist before you begin:
- Check tire pressure and condition
- Verify engine oil and coolant levels
- Inspect hydraulic fluids and hoses
- Test brakes and steering functionality
This routine keeps your tractor reliable throughout the leveling process.
Select Appropriate Leveling Equipment
How do you know which equipment suits your tractor for effective land leveling? First, check your tractor’s horsepower and hitch type to guarantee compatibility.
If you have a three-point hitch, a box blade or land plane works well for smoothing and grading. For heavier or uneven terrain, consider a scraper or grader blade, but verify your tractor can handle the weight.
A drag harrow is great for finer leveling and breaking clods after rough grading. Also, think about the size of the area you’re leveling; larger plots may need wider implements.
Don’t overlook ease of maneuvering and maintenance requirements. By matching your tractor’s capabilities with the right equipment, you’ll level land efficiently without overloading your machine or compromising safety.
Secure Proper Attachment Methods
Once you’ve chosen the right leveling equipment for your tractor, the next step is to secure proper attachment to guarantee safe and effective operation. Start by inspecting your tractor’s hitch system to confirm compatibility with your equipment.
Then, follow these steps carefully:
- Align the tractor and leveling tool on level ground to simplify hookup.
- Connect the hitch pins securely, using safety clips to prevent accidental detachment.
- Attach hydraulic hoses or PTO shafts properly, checking for leaks or loose connections.
- Adjust the three-point hitch or drawbar settings for ideal balance and control.
Double-check all connections before starting work to avoid accidents and ensure smooth operation. Proper attachment not only protects your equipment but also helps you achieve a perfectly leveled surface efficiently.
Adjust Land Moisture for Easier Grading
You’ll want to adjust the soil moisture to the ideal level before you start grading, as too dry or too wet land can make the job harder. Timing your water application carefully guarantees the soil is workable without becoming muddy.
Using simple moisture testing tools can help you know exactly when conditions are right for smooth grading.
Ideal Soil Moisture Levels
Achieving the ideal soil moisture level is essential for smooth and efficient land grading. When the soil is too dry, it becomes hard and difficult to move, causing uneven grading and extra wear on your tractor.
Too wet, and the soil turns muddy, leading to clumping and poor surface finish. To find the sweet spot, aim for soil that’s moist but firm enough to hold its shape when pressed.
Here are four tips to help you gauge and achieve ideal moisture:
- Test soil by squeezing a handful; it should form a loose ball that crumbles easily.
- Avoid grading right after heavy rain or irrigation.
- Use a moisture meter for precise readings.
- Adjust moisture gradually to prevent over-saturating the land.
Timing Water Application
When should you water your land to make grading easier? The best time is just before you start leveling, once the soil is dry enough to absorb water without pooling. Apply water evenly to soften the topsoil, making it easier for your tractor to cut through and smooth out bumps.
Avoid overwatering; soggy ground can cause your tractor to get stuck and create uneven surfaces. Early morning or late afternoon watering helps reduce evaporation, ensuring moisture penetrates deeper.
After watering, wait a few hours for the water to soak in but not dry out completely. Proper timing means you’ll work with soil that’s pliable yet firm, improving grading efficiency and achieving a smoother, more level surface with less effort.
Tools for Moisture Testing
Knowing the right soil moisture level is key to effective land grading, especially after watering your land just enough to soften the topsoil. To get this right, you’ll need reliable moisture testing tools that help you avoid overly wet or dry conditions.
Here are four commonly used tools:
- Soil Moisture Meter – Provides quick, accurate moisture readings at different depths.
- Tensiometer – Measures soil water tension, showing how much water is available to plants.
- Feel and Appearance Method – A hands-on approach where you squeeze soil to judge moisture by texture.
- Time-Domain Reflectometry (TDR) – Uses electromagnetic pulses to precisely measure soil moisture content.
Using these tools ensures you adjust moisture appropriately, making grading smoother and more efficient.
Roughly Grade Uneven Ground With Your Tractor
Before you begin fine-tuning the land, use your tractor to roughly grade the uneven ground. Attach a blade or box scraper to your tractor and drive slowly across the area, pushing soil from high spots toward low spots. Focus on moving large amounts of soil to create a general level surface.
Work in overlapping passes, adjusting the blade angle as needed to shift soil effectively. Avoid trying to make the surface perfectly smooth at this stage; your goal is simply to reduce major bumps and depressions.
Keep an eye on drainage paths to ensure water will flow away properly. By roughly grading first, you set a solid foundation for the more detailed leveling steps that follow, guaranteeing time and improving overall results.
Fine-Tune the Surface With a Box Blade or Land Plane
Now that you’ve roughly graded the land, it’s time to fine-tune the surface using a box blade or land plane.
Choose the right attachment for your soil type and adjust the depth and angle carefully to avoid overcutting.
This will help you achieve a smooth, even finish that’s ready for whatever you plan next.
Choosing the Right Attachment
Selecting the right attachment plays an essential role in achieving a smooth, level surface with your tractor. Choosing between a box blade and a land plane depends on the job’s specific needs.
A box blade is perfect for moving soil, filling low spots, and breaking up hard ground. Meanwhile, a land plane excels at fine-tuning and spreading material evenly across large areas.
To pick the best attachment, consider these factors:
- The terrain type and soil condition
- The size of the area you need to level
- How precise the finish needs to be
- Your tractor’s horsepower and compatibility
Adjusting Depth and Angle
How deep and at what angle you set your box blade or land plane can make all the difference in achieving a perfectly level surface. Start by lowering the attachment gradually, testing shallow depths first to avoid removing too much soil at once.
Adjust the blade angle to control how aggressively it cuts—tilting it forward increases cutting action, while a flatter angle smooths more gently. Use the tractor’s hydraulics to fine-tune these settings as you go, paying attention to soil resistance and uneven spots.
Achieving Smooth, Even Surface
Three key steps will help you achieve a smooth, even surface using your box blade or land plane. First, make slow, steady passes to avoid gouging the soil. Second, keep your equipment level to distribute material evenly. Third, monitor the surface frequently and adjust as needed.
Focus on these four actions for the best results:
- Lower your box blade or land plane just enough to scrape the high spots without digging too deep.
- Overlap each pass slightly to prevent ridges or dips.
- Use the scarifiers to break up compacted soil before smoothing.
- Finish with a light pass at a higher speed to blend and polish the surface.
Check the Level Regularly Using a Laser or Water Level
Although you might be keen to push forward, you’ll want to check the level regularly using a laser or water level to guarantee accuracy. These tools help you detect any dips or high spots early, preventing uneven surfaces.
Set up your laser level or water level at a reference point, then move it across the land to compare different spots. If you spot inconsistencies, adjust your tractor’s grading accordingly before moving on.
Checking often saves time and effort by avoiding major rework later. It also ensures proper drainage and foundation stability for whatever you plan to build or plant.
Compact Your Land to Prevent Future Settling
Why does compacting your land matter once you’ve leveled it? Without proper compaction, your soil can settle unevenly over time, undoing all your hard work and causing drainage problems. To prevent future settling, you need to compact the soil firmly after leveling.
Properly compacting soil after leveling prevents uneven settling and drainage issues, preserving your hard work.
Here’s how to do it effectively:
- Use a roller or tractor with a roller attachment to press the soil down evenly.
- Make multiple passes over the area, overlapping each pass to avoid soft spots.
- Avoid compacting when the soil is too wet, as this can cause clumping and poor compaction.
- If needed, add a thin layer of soil and compact again to fill any low spots.
Following these steps ensures a stable, level surface for your project.
Finish With Final Soil Checks and Site Cleanup
Once you’ve compacted the soil properly, it’s vital to perform final soil checks to guarantee everything is level and stable before cleaning up the site. Use a long straight edge or laser level to identify any remaining uneven spots. Walk the area to feel for soft patches that may need more compaction.
After confirming the surface is smooth and firm, start your site cleanup. Remove rocks, debris, and leftover tools to prevent hazards and prepare for future landscaping or construction.
| Task | Purpose |
|---|---|
| Level Check | Ensure surface is even |
| Compaction Spot Check | Identify soft or unstable areas |
| Cleanup | Remove debris and prepare site |
Following these steps ensures your land is ready for whatever comes next.
Frequently Asked Questions
What Type of Tractor Is Best for Land Leveling?
You’ll want a tractor with at least 50-70 horsepower and four-wheel drive for better traction. A compact or mid-sized tractor works best, especially one compatible with a box blade or land leveler attachment for smooth results.
Can I Level Land Without Professional Help?
You can level land without professional help, but it’s tricky. With patience, the right tools, and careful planning, you’ll gradually transform uneven ground into a smooth surface—just take it step by step and stay cautious throughout.
How Long Does Land Leveling Typically Take?
Land leveling typically takes a few hours to a couple of days, depending on your land size and soil condition. You’ll want to plan carefully, work steadily, and adjust as you go to get a smooth, even surface.
What Safety Precautions Should I Take When Operating a Tractor?
You might worry tractor safety slows you down, but it’s essential. Always wear a seatbelt, check brakes, avoid steep slopes, keep bystanders away, and never operate under the influence. These steps keep you safe and efficient.
How Much Does It Cost to Rent Land Leveling Equipment?
You can expect to pay between $100 and $300 per day to rent land leveling equipment, depending on the machine type and rental location. Make sure to factor in fuel and any additional fees when budgeting.
Conclusion
By following these steps, you’ll level your land efficiently with a tractor, ensuring a smooth, stable surface. While some believe natural settling will fix uneven spots over time, relying solely on that can lead to costly drainage issues and erosion. Taking the time to compact and check your work now prevents future headaches. Trust the process, stay thorough, and your leveled land will serve you well for years to come.