10 Easy Steps to Hook Up a Brush Hog to Your Tractor
To hook up your brush hog, first confirm your tractor’s horsepower, hitch type, and PTO match the mower. Position your tractor on level ground, back up carefully, and align the brush hog. Securely attach the three-point hitch and connect the PTO shaft, locking all pins and safety chains. Set cutting height with skid shoes and gauge wheels, then check all safety guards and connections. Start slowly, adjusting as needed for smooth operation. Follow these basics, and you’ll get the full setup running confidently.
Key Takeaways
- Ensure tractor horsepower, hitch category, and PTO specifications match the brush hog’s requirements before connecting.
- Align the brush hog behind the tractor on level ground, using a spotter if available for precise positioning.
- Attach the three-point hitch pins securely, adjust the top link for level implement positioning, and lock all pins.
- Connect and secure the PTO shaft with its safety shield, checking for damage and proper locking engagement.
- Set cutting height using skid shoes and gauge wheels, perform safety inspections, and verify all guards and chains are in place.
Check Your Tractor and Brush Hog Compatibility
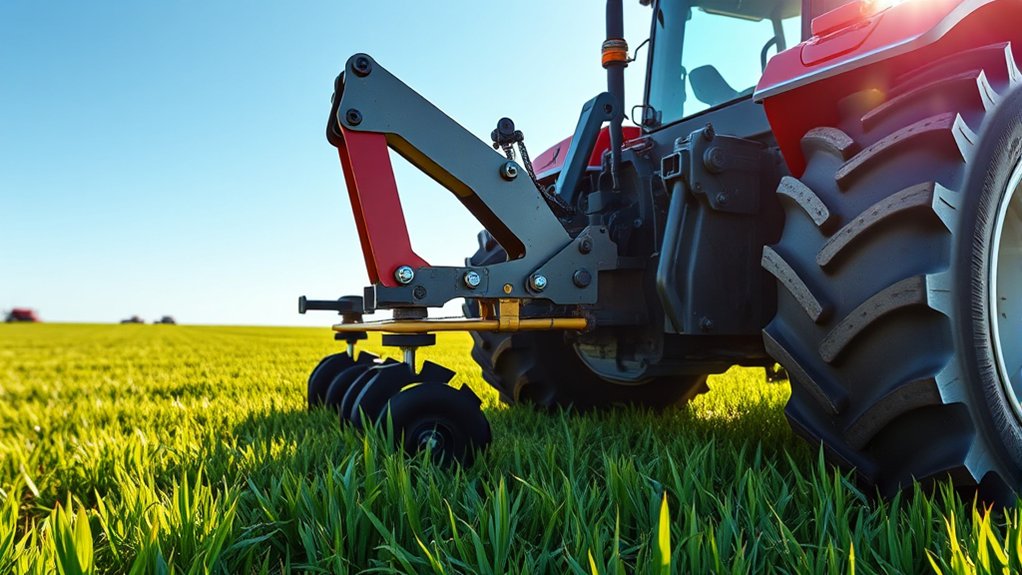
Before you begin hooking up your brush hog, make sure your tractor and brush hog are compatible. Check the horsepower rating of your tractor first; your brush hog should match or be slightly below this to avoid overloading.
Look at the three-point hitch category—most brush hogs use Category 1 or 2, so your tractor’s hitch must match to connect properly.
Don’t forget to verify the PTO (power take-off) speed and shaft size; they need to align for efficient power transfer.
Also, confirm your tractor has the necessary hydraulic connections if your brush hog requires them.
Taking these steps prevents damage and ensures safe, efficient operation. If you’re unsure, consult your tractor and brush hog manuals for exact specifications.
Get Your Tractor Ready to Hook Up
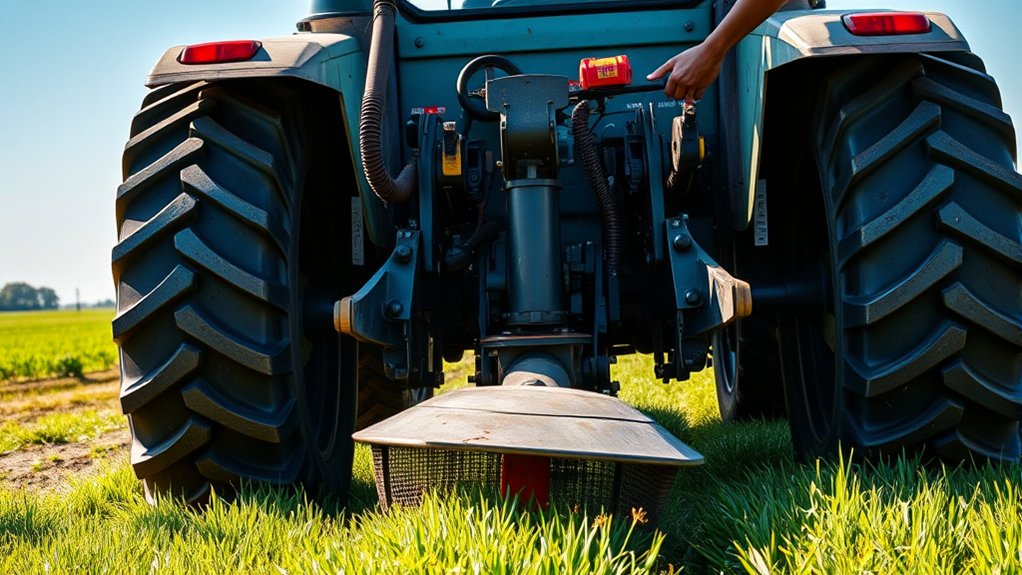
Once you’ve confirmed compatibility, you’ll want to position your tractor on a level surface and engage the parking brake to guarantee stability. Next, shut off the engine and remove the key to ensure safety while you work.
Position your tractor on level ground, engage the parking brake, then shut off the engine and remove the key for safety.
Inspect the three-point hitch and PTO shaft for any damage or debris, cleaning and lubricating as needed. Adjust the hitch arms so they’re roughly at the same height as the brush hog’s connection points.
Check the hydraulic fluid levels and top off if necessary to ensure smooth hitch operation.
Finally, verify that all safety guards and shields are in place and in good condition before proceeding. These steps prepare your tractor for a secure, efficient hookup and safe operation.
Position the Brush Hog Behind Your Tractor
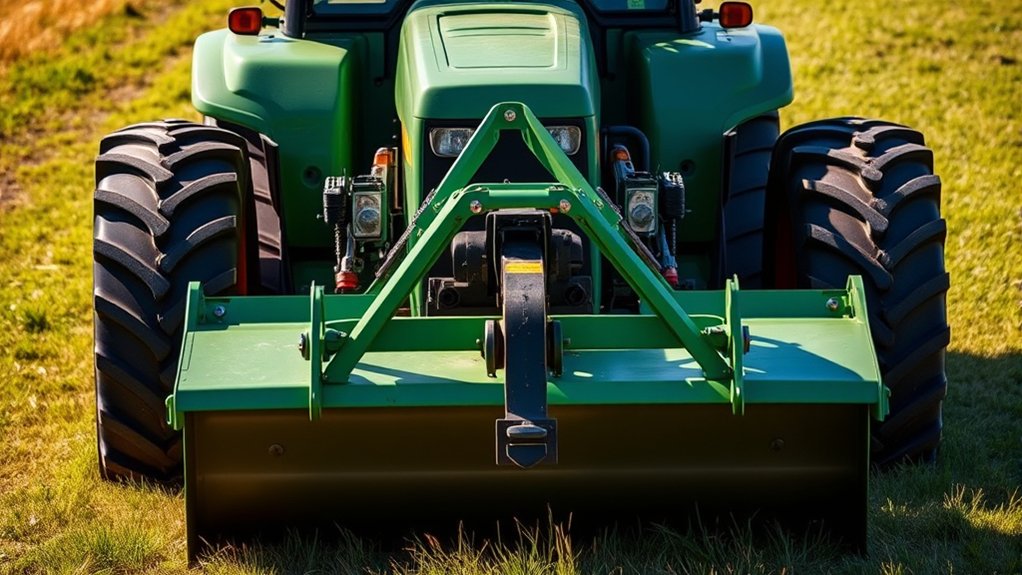
As you prepare to connect your brush hog, carefully position it directly behind your tractor, aligning the hitch points as closely as possible. Take your time to back up slowly, ensuring the tractor’s rear tires stay straight to avoid misalignment. Use a spotter if you can; having a second pair of eyes makes this step easier and safer.
Check that the brush hog sits level and stable on the ground before moving closer. Make sure the tractor and brush hog are on firm, even ground to prevent shifting during hookup. Keep the area clear of obstacles and people.
Proper positioning here sets the stage for a smooth connection, so don’t rush this step or guess the alignment. Accurate positioning saves you time and hassle when attaching the hitch.
Connect the Three-Point Hitch Securely
Now it’s time to connect the three-point hitch securely. Make sure you align the hitch pins properly to avoid any misalignment.
Once in place, tighten all linkage connections firmly to keep the brush hog stable during operation.
Align Hitch Pins Properly
Before you secure the brush hog, make sure you align the hitch pins carefully to prevent any misconnection. Proper alignment guarantees safety and smooth operation. Position the tractor and brush hog so the hitch holes line up perfectly. Insert the pins straight through the holes without forcing them, then secure with clips or cotter pins. Here’s a quick guide to help:
| Pin Location | Correct Alignment Tip | Locking Method |
|---|---|---|
| Top Link Pin | Center holes precisely | Use cotter pin |
| Lower Left Hitch Pin | Align holes evenly | Secure with clip |
| Lower Right Hitch Pin | Match pin diameter and hole | Lock with cotter pin |
Taking these steps prevents damage and keeps your brush hog mounted securely during work.
Tighten Linkage Connections
Once you’ve aligned the hitch pins correctly, tighten the linkage connections to secure the three-point hitch firmly.
Start by fastening the lower lift arms to the brush hog’s hitch points using the provided clips or lynch pins.
Next, connect the top link, adjusting its length so the brush hog sits level when lowered.
Make sure all pins are fully inserted and locked to prevent accidental detachment.
Use a wrench or hand tools to tighten any adjustable linkages, ensuring there’s no play or looseness.
Double-check that the connections allow for smooth movement without binding.
Properly tightened linkages keep the brush hog stable during operation, enhancing safety and performance.
Don’t skip this step—loose connections can lead to equipment damage or injury.
Attach the PTO Shaft to Your Brush Hog
Although connecting the PTO shaft might seem straightforward, you’ll want to guarantee it’s properly aligned and securely fastened to avoid any operational issues.
First, slide the PTO shaft onto the tractor’s PTO stub shaft until it clicks into place. Make sure the locking pin or collar engages completely to prevent accidental disconnection.
Next, check the shaft for any signs of damage or excessive wear before use.
Finally, secure the safety shield over the PTO shaft to protect yourself during operation.
Remember to:
- Align the splines carefully to avoid damage
- Push the shaft firmly until you hear a click
- Verify the locking mechanism is fully engaged
- Confirm the safety guard is in place and undamaged
Following these steps ensures a safe and efficient connection.
Adjust the Lift Arms and Stabilizers on Your Tractor
Now that the PTO shaft is attached, you’ll want to position the lift arms correctly for a secure fit.
Adjust the stabilizer bars to keep everything steady during operation.
Make sure the lift arms are properly aligned to avoid any strain on your tractor or brush hog.
Positioning Lift Arms Correctly
Before attaching the brush hog, make certain you adjust the lift arms and stabilizers to the correct positions on your tractor. Positioning the lift arms correctly ensures your brush hog operates smoothly and safely.
Start by raising the lift arms to a height that aligns with the brush hog’s hitch points. Next, adjust the arms laterally so they sit evenly on both sides. Make sure the arms are parallel to the ground to avoid uneven cutting.
Finally, secure the arms in place to prevent any movement during operation.
- Check that lift arms are level side-to-side
- Align height with brush hog hitch points
- Make sure arms are parallel to the ground
- Lock arms securely before lowering the implement
Proper positioning keeps your brush hog steady and effective.
Adjusting Stabilizer Bars
Once you’ve positioned the lift arms correctly, you’ll need to adjust the stabilizer bars to keep your brush hog steady during operation. Stabilizer bars prevent side-to-side movement, ensuring smooth, safe cutting. Start by loosening the lock nuts on each stabilizer bar, then slide the bars until they’re snug but not overly tight. This allows some flexibility while minimizing sway.
Here’s a quick guide:
| Adjustment Step | What to Do |
|---|---|
| Loosen Lock Nuts | Use a wrench to loosen each nut |
| Slide Stabilizer Bars | Move bars to reduce side play |
| Tighten Lock Nuts | Secure bars once snug |
Check your work by gently rocking the brush hog; it should have minimal lateral movement.
Ensuring Proper Arm Alignment
Although you’ve adjusted the stabilizer bars, you’ll need to verify the lift arms and stabilizers are perfectly aligned to maintain balance and control while operating your brush hog. Misalignment can cause uneven cutting and strain on your tractor’s hitch.
To confirm proper arm alignment, follow these steps:
- Adjust the lift arms so they’re level and parallel to the ground.
- Fine-tune the stabilizers to minimize side-to-side movement.
- Check that the brush hog hangs evenly, avoiding any tilt.
- Use locking pins or clips to secure adjustments firmly in place.
Secure Safety Chains and Hitch Pins
Two critical components you’ll need to secure when hooking up your brush hog are the safety chains and hitch pins.
Start by attaching the safety chains to the designated points on both the tractor and the brush hog. Make sure the chains have enough slack to allow turning but not so much that they drag on the ground.
Next, insert the hitch pins through the holes on the tractor’s drawbar and the brush hog’s hitch. Push the pins all the way through and lock them in place with cotter pins or clips to prevent accidental disengagement.
Double-check that the chains and pins are tight and secure before moving on. Properly fastening these parts ensures safe operation and prevents equipment damage or accidents during use.
Set the Cutting Height for Your Brush Hog
Before you start mowing, you’ll need to set the cutting height on your brush hog to match the terrain and vegetation type. This guarantees effective cutting and protects both your tractor and brush hog.
Adjust the height by raising or lowering the rear skid shoes and the front gauge wheels, depending on your model.
Raise or lower the rear skid shoes and front gauge wheels to set the appropriate cutting height.
Consider these tips when setting the cutting height:
- For thick brush, set a higher cutting height to avoid overloading the mower.
- Use a lower height for grass or smaller plants for a cleaner cut.
- Adjust skid shoes evenly on both sides to maintain balance.
- Check the terrain for rocks or uneven spots and raise the cutter slightly to avoid damage.
Setting the right height improves performance and prolongs equipment life.
Do a Quick Safety Check Before You Start
Before you fire up your tractor, take a moment to inspect the hitch and tractor for any damage or loose parts.
Make sure all safety equipment like shields and guards are in place and functioning properly.
This quick check helps prevent accidents and keeps you safe while working.
Inspect Tractor And Hitch
Although hooking up a brush hog may seem straightforward, you’ll want to inspect your tractor and hitch carefully to guarantee everything is secure and functioning properly. A thorough check helps prevent accidents and equipment damage once you start mowing.
Before attaching the brush hog, make sure to:
- Examine the hitch pins and clips for wear or damage
- Check that the hitch points align without forcing connections
- Inspect hydraulic hoses and connectors for leaks or cracks
- Confirm the PTO shaft is clean, lubricated, and free of debris
Taking these steps ensures a safe and smooth hookup. Skipping this inspection could lead to equipment failure or unsafe conditions while operating your tractor and brush hog. Always give your equipment a quick once-over before use.
Verify Safety Equipment
Once you’ve verified your tractor and hitch are in good shape, it’s time to confirm that all safety equipment is in place and working properly. Check that the PTO shield and driveline guards are securely attached and free of damage. Make sure all warning decals are visible and legible.
Inspect safety chains or tether cables to ensure they’re correctly connected and not worn out. Confirm the brush hog’s blade shield is intact to prevent debris from flying.
Test the tractor’s brakes, lights, and horn to guarantee they function if needed. Wearing appropriate personal protective gear like gloves, boots, and eye protection is essential before you start.
Taking these quick safety steps reduces risk and keeps your work site safer for you and anyone nearby.
Start Mowing and Make Final Adjustments
As you engage the PTO and lower the brush hog into position, you’ll want to keep an eye on how it responds to make certain smooth operation. Start mowing at a slow pace to test the attachment and listen for unusual noises or vibrations. If you notice any issues, stop and adjust accordingly.
Pay attention to the cutting height and make sure it’s consistent to avoid scalping or uneven patches.
Here are some quick tips for final adjustments:
- Adjust the skid shoes to maintain the desired cutting height.
- Tighten any loose bolts or connections.
- Check the PTO shaft for proper engagement.
- Clear any debris stuck in the blades or under the deck to prevent damage.
Following these steps guarantees your brush hog works efficiently and safely.
Frequently Asked Questions
How Do I Maintain My Brush Hog After Use?
You should clean the brush hog thoroughly, check and tighten all bolts, inspect blades for damage, lubricate moving parts, drain any water from gearboxes, and store it in a dry place to keep it in good condition.
What Type of Fuel Is Best for My Tractor?
You should use fresh, unleaded gasoline with the octane rating recommended in your tractor’s manual. Avoid ethanol blends over 10%, as they can damage the engine. Always check and follow your tractor’s specific fuel requirements.
Can I Use a Brush Hog on Slopes Safely?
You shouldn’t use a brush hog on slopes steeper than 15 degrees, since 60% of tractor rollovers happen on inclines. Always assess terrain carefully, use proper safety gear, and avoid risky angles to stay safe while mowing.
How Often Should the PTO Shaft Be Lubricated?
You should lubricate the PTO shaft every 8 to 10 hours of use or at least once a week during regular operation. Keeping it well-greased prevents wear and guarantees smooth, safe performance on your tractor.
What Are Common Signs of Brush Hog Blade Wear?
Did you know 70% of blade damage results from unnoticed wear? You’ll spot dull edges, uneven cuts, or metal shavings. If your brush hog struggles to clear brush, it’s time to replace those worn blades.
Conclusion
Now that you’ve hooked up your brush hog, you’re ready to tackle any overgrown field with confidence. Remember, taking these simple steps guarantees your safety and the efficiency of your equipment. Isn’t it great when a little preparation leads to smooth, hassle-free mowing? So, double-check everything, stay alert, and enjoy the satisfaction of a job well done. Your tractor and brush hog make a perfect team—now go put them to work!