5 Steps to Get a Tractor Tire Back on the Rim
To get a tractor tire back on the rim, start by preparing a clean, organized workspace and gathering essential tools like a tire iron and bead breaker. Next, thoroughly clean and inspect both tire and rim for damage. Then, carefully position the tire, aligning valve holes and seating the bead evenly. Once set, inflate the tire gradually while monitoring pressure for safety. Follow these steps closely, and you’ll guarantee a proper, secure fit—keep going to explore detailed tips and tricks.
Key Takeaways
- Clear and organize your workspace, gathering essential tools like a tire iron, bead breaker, lubricant, and safety gear.
- Clean and inspect the tire and rim thoroughly for damage, rust, or debris before starting.
- Position the tire correctly on a flat surface, aligning the valve holes and ensuring the bead rests evenly around the rim.
- Seat the tire beads evenly around the rim, applying uniform pressure and using tools gently if needed.
- Inflate the tire gradually using a pressure gauge, wearing safety gear, and stopping immediately if any issues arise.
Prepare Your Workspace and Gather Tractor Tire Tools
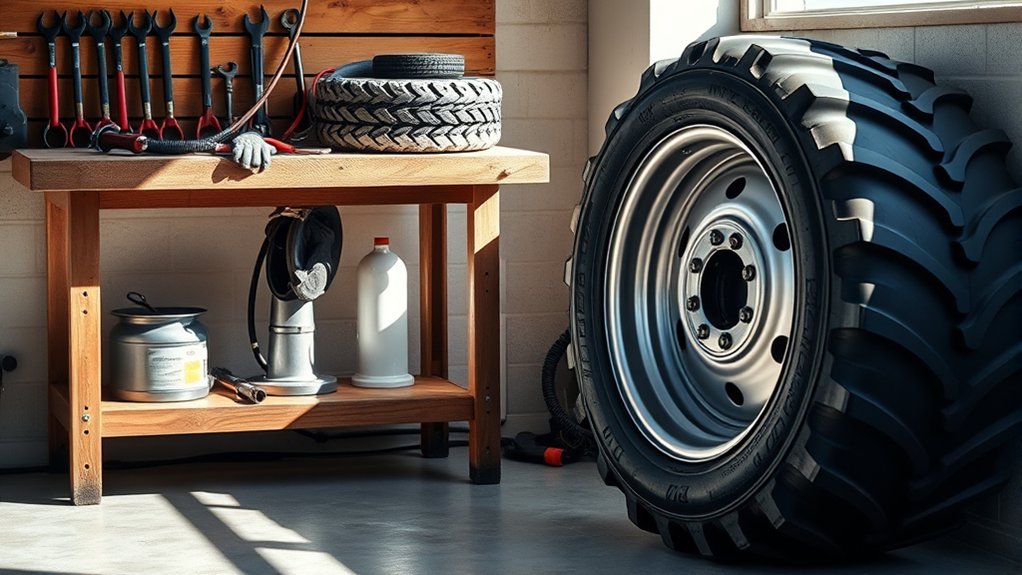
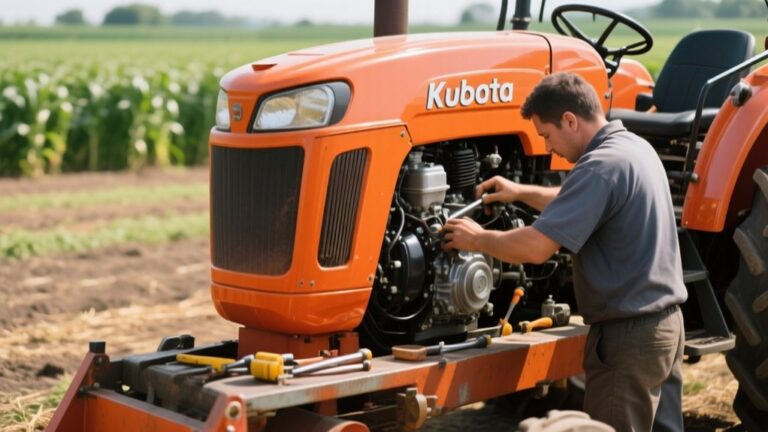
Before you begin, clear and organize your workspace to guarantee safety and efficiency. Make sure the area is flat, well-lit, and free of clutter. This helps prevent accidents and keeps tools within reach.
Clear and organize your workspace to ensure safety, efficiency, and easy access to tools before starting.
Next, gather the essential tools: a tire iron or pry bar, a bead breaker, a lubricant like soapy water, and a sturdy jack or lift to support the tractor. You’ll also need protective gloves and safety glasses.
Having everything ready avoids interruptions and speeds up the process. Set your tools on a nearby table or cart so you don’t lose time searching.
Preparing your workspace carefully lets you focus on the tire and rim without distractions, making the job smoother and safer from start to finish.
Clean and Inspect the Tractor Tire and Rim for Damage
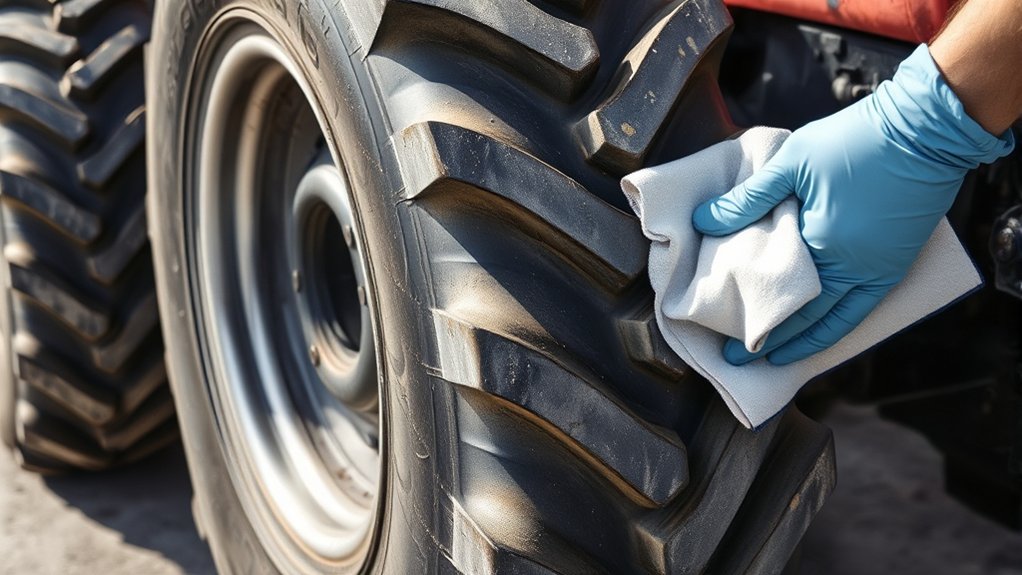
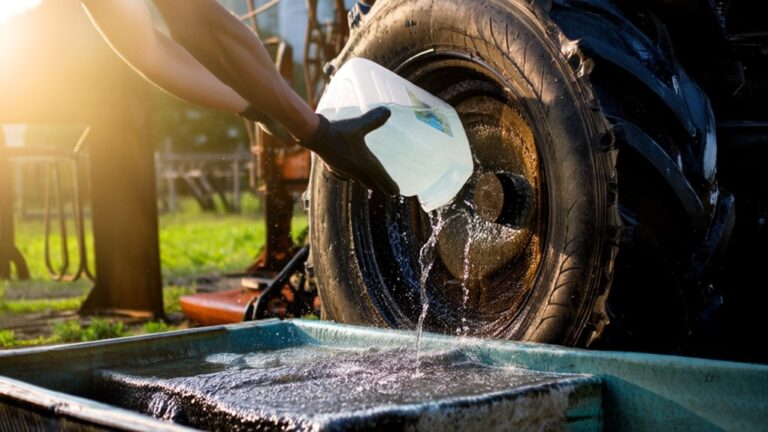
Once you’ve prepared your workspace, thoroughly clean the tractor tire and rim to remove dirt, mud, and debris that could hide damage or prevent a proper seal. Use a stiff brush and water, then dry both parts. Next, inspect for cracks, rust, or dents. Any damage can cause air leaks or unsafe conditions.
Here’s what to look for during inspection:
| Tire Issues | Rim Issues |
|---|---|
| Cracks or cuts | Rust or corrosion |
| Bulges or deformities | Dents or bends |
| Excess wear on tread | Warped surfaces |
| Embedded objects | Loose or missing bolts |
| Sidewall damage | Rim flange cracks |
Address any problems before proceeding to guarantee a secure fit and safe operation.
Position the Tractor Tire Correctly Before Mounting
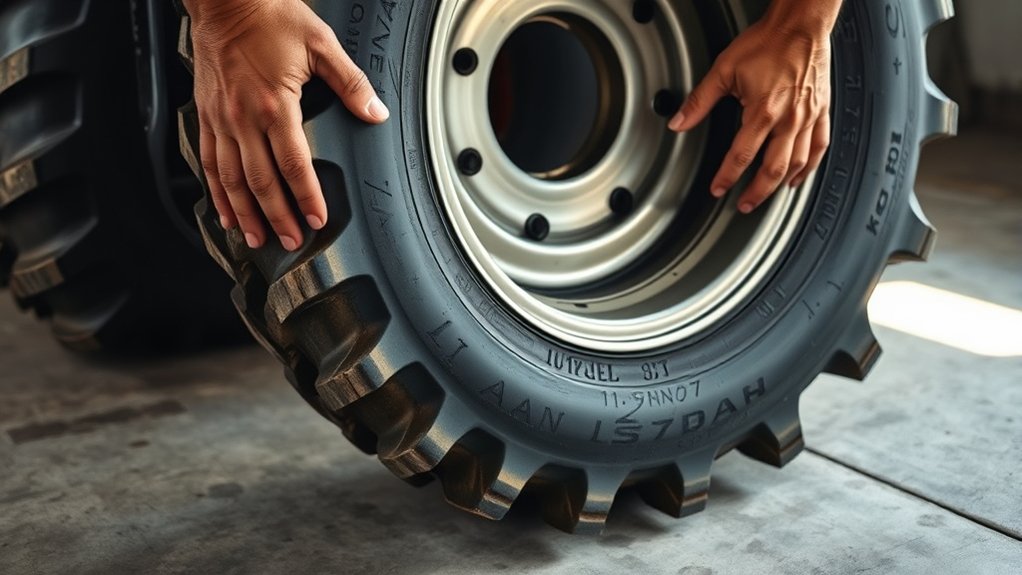
Start by aligning the tractor tire carefully with the rim to guarantee a proper fit. Positioning the tire correctly is essential to avoid damage and ensure safety during mounting. Make sure the tire beads match the rim’s edges precisely.
Keep these points in mind as you position the tire:
- Place the tire on a flat, stable surface to prevent it from tipping.
- Align valve holes on the rim and tire to avoid misplacement.
- Check that the tire bead rests evenly around the rim circumference.
- Avoid forcing or twisting the tire, which can cause bead damage.
Taking time to position the tire properly sets the foundation for a smooth mounting process and prevents future issues with tire performance.
Seat the Tractor Tire on the Rim the Right Way
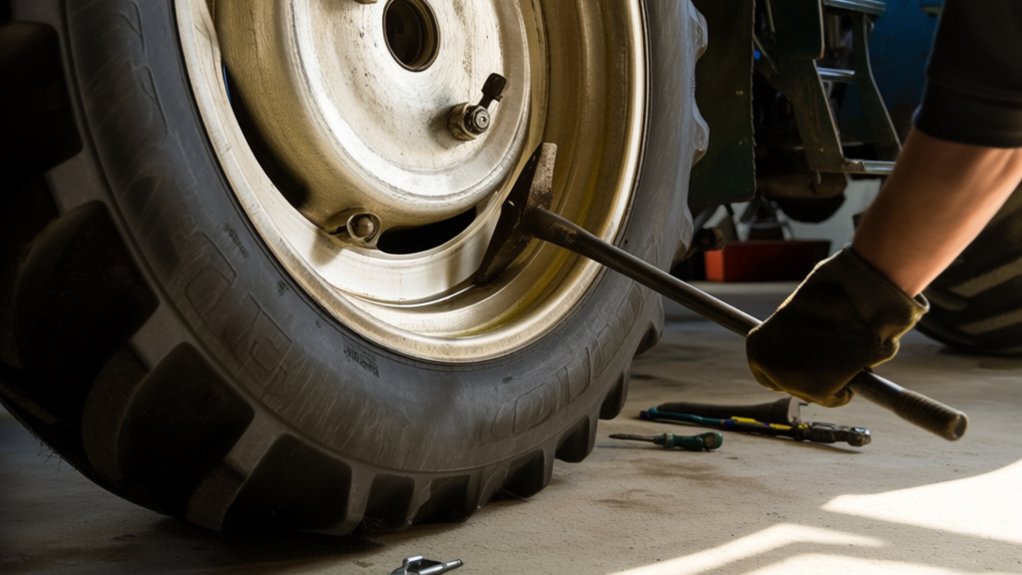
After positioning the tire correctly on the rim, you’ll want to seat the tire beads firmly to guarantee a secure fit. Start by applying even pressure around the tire’s edge, ensuring both beads make contact with the rim evenly. Avoid forcing one side too much, as this can cause damage. Use a tire spoon or bead breaker tool carefully if necessary to guide the beads into place. Double-check that the tire sits flush against the rim all around before moving forward.
| Step | Action |
|---|---|
| 1 | Position tire beads evenly |
| 2 | Apply uniform pressure |
| 3 | Use tools gently if needed |
| 4 | Confirm tire seats flush |
Inflate the Tractor Tire Safely and Check the Fit
Although it might be tempting to inflate the tire quickly, you should do so gradually to avoid any sudden pressure buildup that could cause injury or damage. Start by connecting the air hose securely and inflate in short bursts, pausing frequently to check the tire’s seating on the rim. Keep an eye on the bead to ensure it stays properly positioned.
Inflate tires gradually in short bursts, checking the bead and seating frequently to prevent pressure buildup and ensure safety.
To inflate safely and check the fit, remember to:
- Use a pressure gauge to monitor tire pressure closely.
- Inflate the tire in a controlled environment, away from bystanders.
- Wear safety glasses and stand clear of the tire’s sidewall.
- Stop inflating immediately if you hear popping or see bulges.
Taking these precautions helps guarantee the tire is inflated safely and ensures a proper fit on the rim.
Frequently Asked Questions
What Types of Tractor Tires Are Best for Different Terrains?
You’ll want R1 tires for muddy fields, R2 tires for lighter soils, and R4 tires for hard surfaces or roads. Each type matches specific terrains, so choosing the right one guarantees better traction and less wear.
How Often Should Tractor Tires Be Replaced for Optimal Performance?
You don’t need to replace tractor tires until they’re completely bald—because waiting that long definitely helps your schedule, right? Seriously, check them every 1-3 years or when you spot cracks, wear, or performance drops.
Can Tractor Tires Be Repaired if Punctured or Damaged?
Yes, you can repair tractor tires if they’re punctured or damaged, but it depends on the damage’s extent. Small punctures are usually fixable, while large cuts or sidewall damage often require tire replacement for safety and performance.
What Safety Gear Should I Wear When Changing Tractor Tires?
You should wear safety goggles, heavy-duty gloves, steel-toed boots, and protective clothing when changing tractor tires. These protect you from flying debris, sharp edges, and heavy equipment, keeping you safe throughout the process.
How Do Weather Conditions Affect Tractor Tire Maintenance?
Oh, perfect! You love changing tires in freezing rain or blazing sun, right? Well, weather affects tire pressure, traction, and wear. You’ll need to check more often in extreme conditions to keep your tractor rolling smoothly and safely.
Conclusion
Getting your tractor tire back on the rim is like planting a sturdy oak tree—each step builds a strong foundation for growth. By preparing your tools, inspecting carefully, positioning with care, seating firmly, and inflating safely, you’re nurturing stability and strength. Just as a tree stands tall through seasons, your tire will carry you steadily through fields and challenges. Follow these steps, and you’ll harvest reliability and confidence every time you hit the road.