How to Jumpstart a Tractor Trailer in 5 Easy Steps
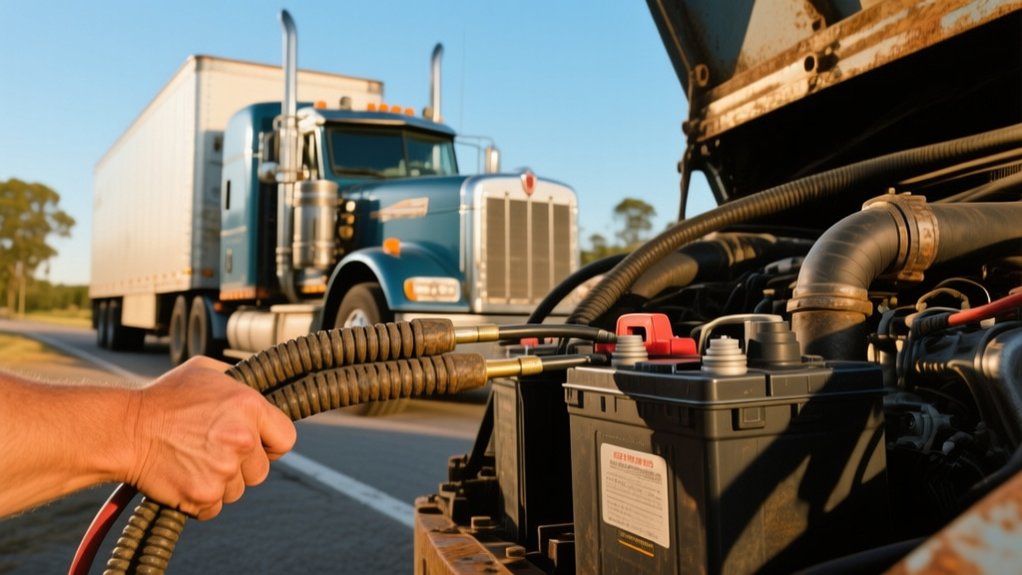
To jumpstart a tractor trailer in five easy steps, first gather heavy-duty jumper cables, insulated gloves, and safety gear. Next, locate the battery and clean the terminals if needed. Then, connect the cables correctly—positive to positive, negative to a grounded metal surface. Start the engine after a short wait, letting it run to recharge. Finally, disconnect cables carefully and check the battery for damage. If you want to handle this with confidence, there’s more important info ahead.
Key Takeaways
- Use heavy-duty jumper cables and wear insulated gloves and safety glasses before starting the jumpstart process.
- Locate the battery, clean terminals, and identify positive and negative terminals clearly.
- Connect red clamps to both positive terminals and black clamps to the good battery negative and grounded metal on the dead vehicle.
- Wait 2-3 minutes, then start the engine of the tractor trailer and keep it running for at least 10 minutes.
- Disconnect cables in reverse order and inspect battery terminals and casing for corrosion or damage.
Gather Tools and Safety Gear to Jumpstart

Before you begin jumpstarting your tractor trailer, make sure you have all the necessary tools and safety gear on hand. You’ll need a reliable set of jumper cables rated for heavy-duty vehicles to handle the higher voltage.
Don’t forget insulated gloves to protect your hands from sparks or accidental contact with battery acid. Safety glasses are essential to shield your eyes from any debris or acid splashes.
It’s also wise to have a flashlight handy if you’re working in low light. Finally, keep a fire extinguisher nearby just in case.
Gathering these items beforehand guarantees you’re prepared and can work safely and efficiently. Taking these precautions helps prevent accidents and damage while you jumpstart your tractor trailer.
Find the Battery and Terminals to Jumpstart
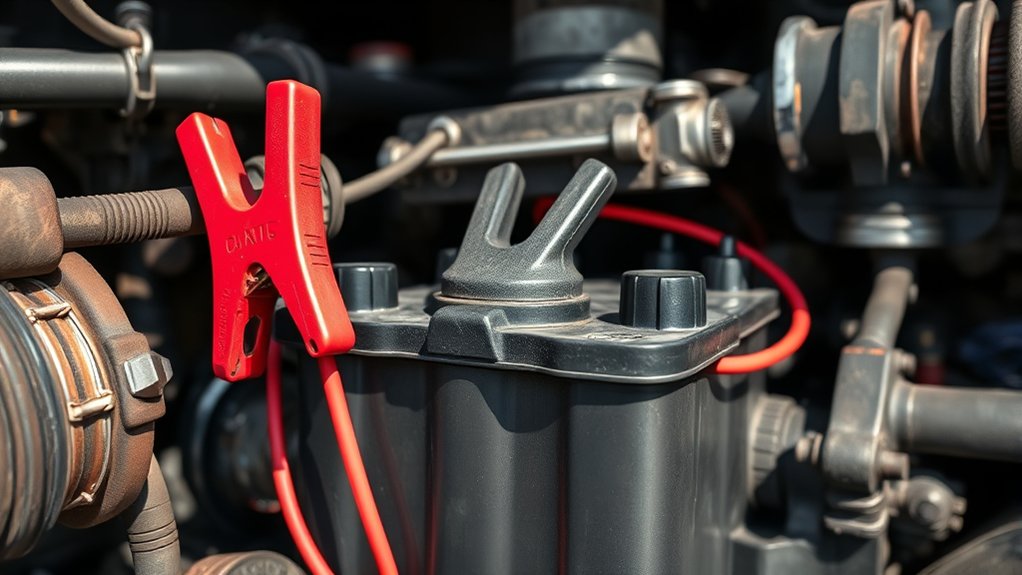
With your tools and safety gear ready, the next step is locating the tractor trailer’s battery and its terminals. Typically, the battery sits in a compartment on the driver’s side, under or beside the cab. You might need to open a latch or remove a cover to access it.
Once you find the battery, identify the positive (+) and negative (–) terminals. The positive terminal usually has a red cover or cable, while the negative terminal is often black.
Make sure both terminals are clean and free of corrosion, as buildup can prevent a proper connection. If the terminals are dirty, use a wire brush or cloth to clean them before proceeding.
Knowing their exact location and condition sets you up for a safe and effective jumpstart.
Connect Jumper Cables to Jumpstart Safely
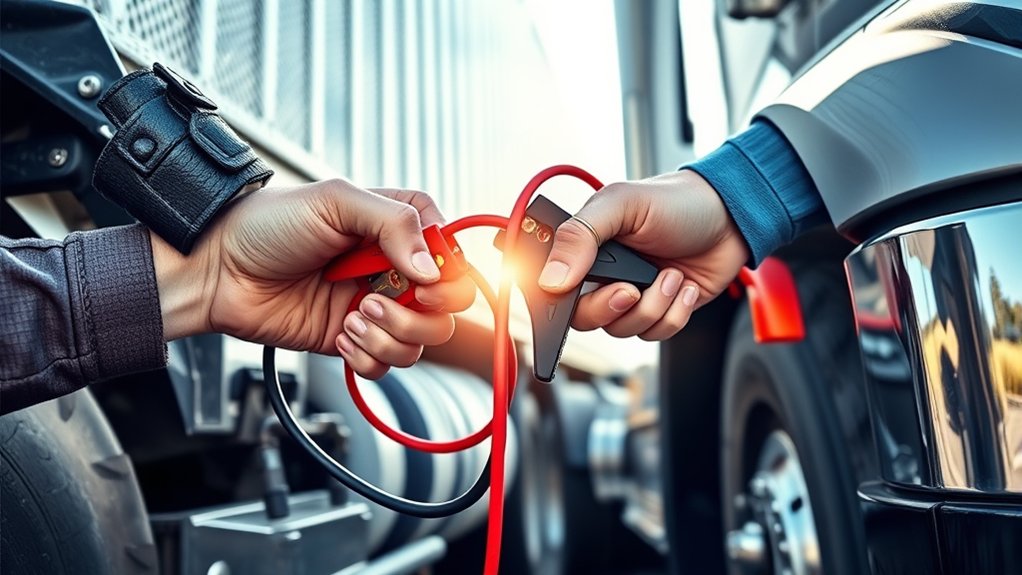
Once you’ve located and cleaned the battery terminals, you’ll connect the jumper cables carefully to avoid sparks or damage.
Start by attaching the red (positive) clamp to the positive terminal on the dead battery.
Then, connect the other red clamp to the positive terminal on the good battery.
Next, attach the black (negative) clamp to the negative terminal on the good battery.
Finally, connect the remaining black clamp to an unpainted metal surface on the tractor trailer’s engine block, away from the battery. This grounding helps prevent sparks near the battery.
Make sure the clamps are secure and not touching each other. Double-check your connections before proceeding.
Following this sequence minimizes risks and guarantees a safe jumpstart setup.
Start the Tractor Trailer and Charge the Battery
Although the cables are connected securely, don’t start the tractor trailer immediately; instead, give the good battery a few moments to transfer some charge. This helps build enough power to crank the engine without overloading the system.
Allow the good battery time to transfer charge before starting to prevent system overload.
When you’re ready:
- Turn the ignition key on the tractor trailer, but don’t start the engine right away. Wait about 2-3 minutes to let the charge build.
- After the wait, start the tractor trailer’s engine. It should turn over smoothly if the battery gained enough power.
- Keep the engine running for at least 10 minutes to allow the alternator to recharge the battery fully.
Following these steps guarantees a successful start and helps avoid straining the electrical system.
Disconnect Cables Safely and Inspect Battery
After the tractor trailer’s engine is running smoothly, carefully disconnect the jumper cables in the reverse order you connected them to prevent sparks or damage.
Start by removing the black clamp from the grounded metal surface, then the black clamp from the dead battery, followed by the red clamp from the donor battery, and finally the red clamp from the dead battery.
Once the cables are off, inspect the battery terminals for corrosion, cracks, or loose connections. Clean any corrosion with a battery terminal cleaner or a mixture of baking soda and water, then dry thoroughly.
Check the battery casing for damage or leaks. If you notice any issues, replace the battery or have it tested at a professional shop to guarantee your tractor trailer starts reliably next time.
Frequently Asked Questions
Can Jumpstarting Damage My Tractor Trailer’s Electrical System?
Yes, jumpstarting can damage your tractor trailer’s electrical system if done incorrectly. You should always follow proper procedures and use the right equipment to avoid shorts, blown fuses, or damage to sensitive electronics.
How Often Should I Check My Tractor Trailer Battery?
You should check your tractor trailer battery at least once a month, like a gardener tending to plants. Regular checks catch issues early, keeping your rig reliable and preventing unexpected breakdowns on the road.
What Are Signs My Battery Needs Replacement Instead of Jumpstarting?
You’ll know your battery needs replacement if it won’t hold a charge, shows corrosion or swelling, causes slow engine cranking, or if it’s over 3-5 years old. Jumpstarting won’t fix these issues permanently.
Can I Jumpstart a Tractor Trailer in Extreme Weather Conditions?
You can jumpstart a tractor trailer in extreme weather, but be cautious. Cold or wet conditions make it riskier, so wear protective gear, guarantee good connections, and take extra safety steps to avoid damage or injury.
Are There Alternative Methods to Jumpstart if I Lack Jumper Cables?
Yes, you can use a portable jump starter or battery booster if you don’t have jumper cables. Alternatively, you might call roadside assistance or use a battery charger to power up your tractor trailer’s battery safely.
Conclusion
Now that you know how to jumpstart your tractor trailer in just five easy steps, you’re ready to tackle any dead battery like a pro. Remember, safety is your co-pilot, so take your time connecting and disconnecting those cables. With a little care and confidence, you’ll have your rig roaring back to life in no time—turning a frustrating stall into just a bump in the road. Keep this guide handy for smooth rides ahead!