How to Attach an Auger to a Tractor in 5 Easy Steps
To attach an auger to your tractor in five easy steps, start by parking on flat ground and inspecting both machines for damage. Next, connect the auger to the 3-point hitch, securing all pins and locks tightly. Then, slide the PTO shaft onto the tractor’s stub shaft and engage the locking collar. After that, test the auger controls and check hydraulic lines for leaks. Finally, do a thorough safety check to guarantee everything’s secure and ready to go—learn how each step ensures smooth, safe operation.
Key Takeaways
- Park the tractor on a flat surface and inspect both tractor and auger for any damage before starting.
- Align and attach the auger to the tractor’s 3-point hitch, securing all pins and safety clips properly.
- Connect the PTO shaft by sliding it onto the tractor’s PTO stub and locking it with the pin or collar.
- Start the tractor at low RPM, engage the auger gradually, and check hydraulic lines for leaks or damage.
- Perform a final safety check to ensure all attachments, guards, and controls are secure and functioning correctly.
Prepare Your Tractor and Auger for Attachment
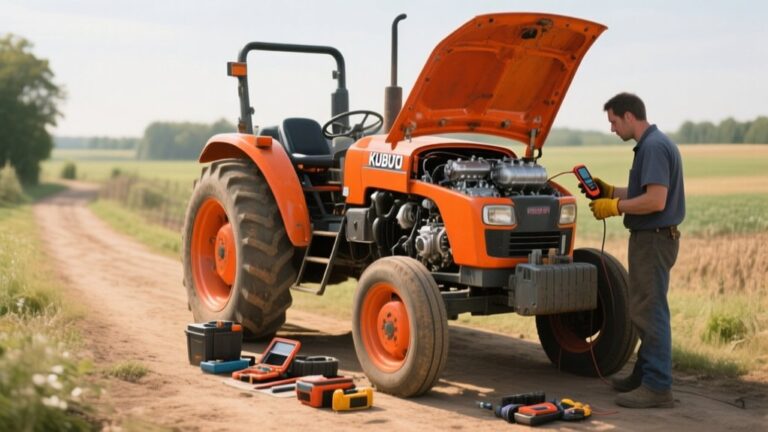
Before attaching the auger, make sure your tractor is turned off and parked on a flat, stable surface. This guarantees safety and stability while you work.
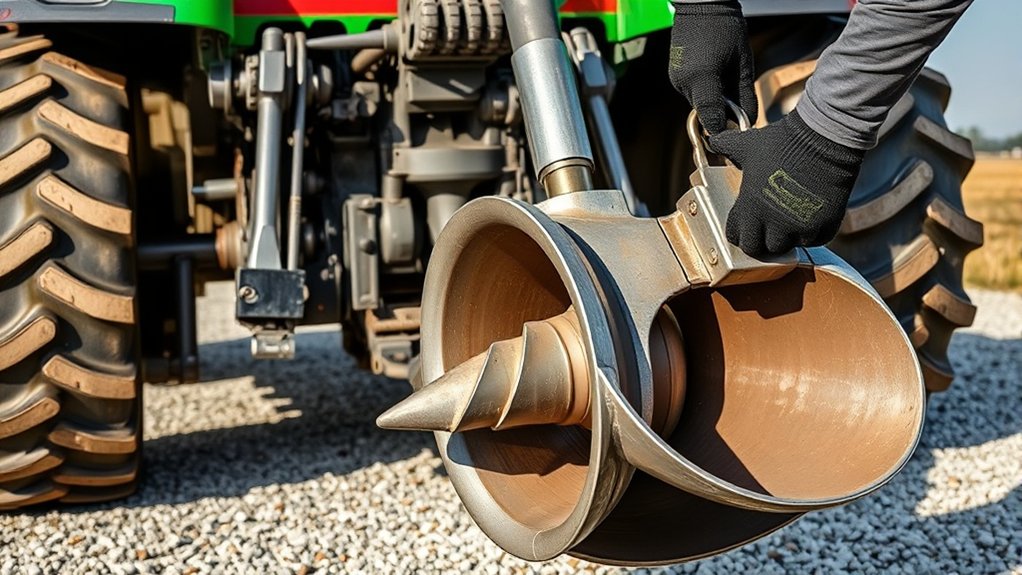
Next, inspect both the tractor and auger for any visible damage or wear. Check the auger’s gearbox, flighting, and frame to ensure everything is intact.
Also, verify that the tractor’s hydraulic system and PTO shaft are in good condition.
Clean any dirt or debris from the attachment points on both the tractor and auger to promote a secure fit.
Gather all necessary tools and safety equipment before you begin.
Taking these preparatory steps helps you avoid issues during attachment and sets you up for a smooth, safe installation process.
Attach the Auger to the Tractor’s 3-Point Hitch and Secure Safety Locks
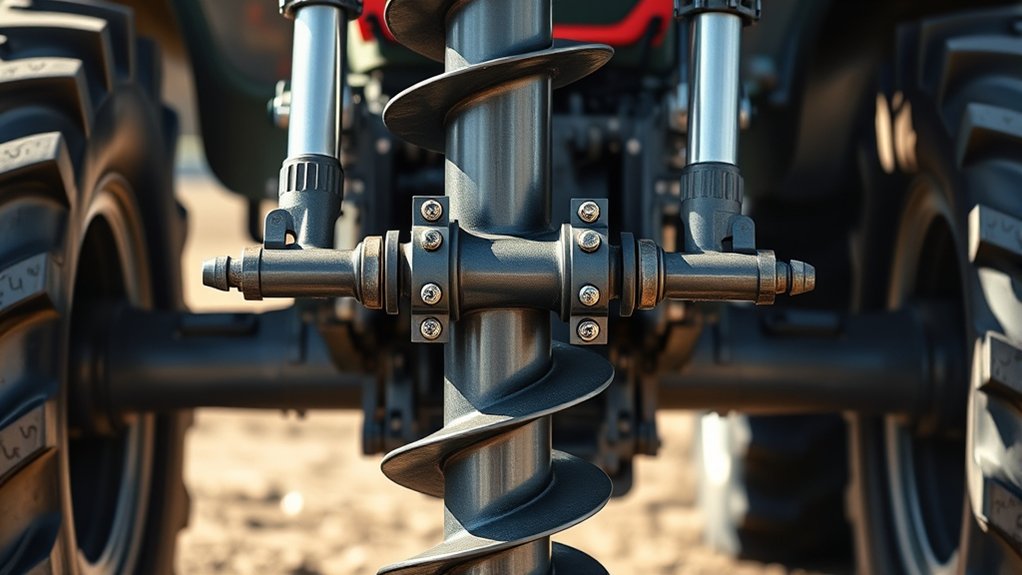
Once your tractor and auger are prepped and checked, you’re ready to connect the auger to the tractor’s 3-point hitch. Back the tractor up slowly, aligning the hitch arms with the auger’s mounting pins. Secure the lower hitch arms first, then attach the top link. Make sure all pins are fully inserted and locked with safety clips or cotter pins. Double-check the connections to prevent any movement during operation.
| Step | Action |
|---|---|
| Align hitch arms | Back tractor, line up pins |
| Attach lower arms | Insert pins, secure with clips |
| Connect top link | Insert pin, lock with cotter pin |
| Verify connections | Ensure all pins and locks secure |
Connect and Secure the PTO Shaft
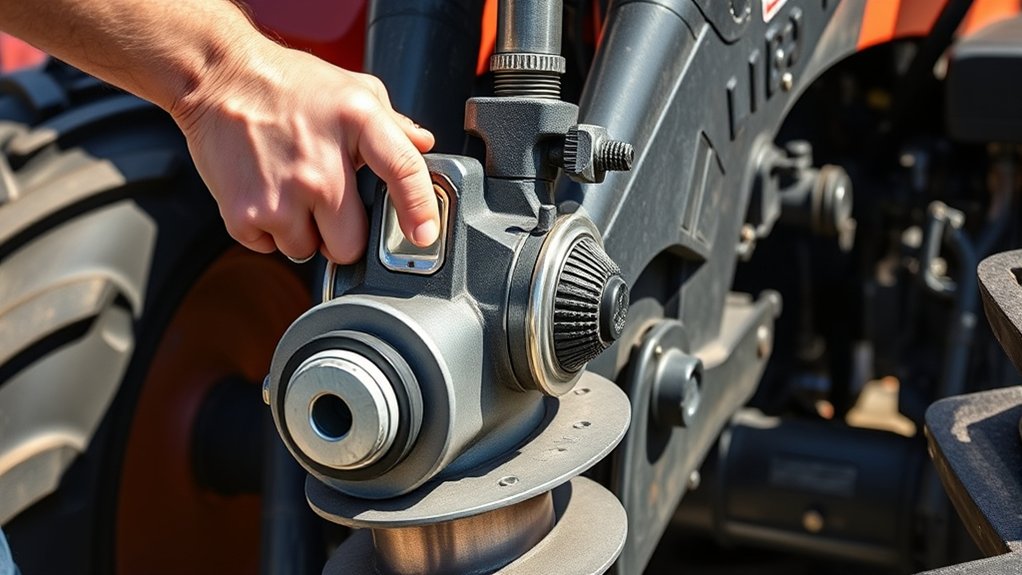
Although you’ve secured the auger to the hitch, you still need to connect the PTO shaft to transfer power from the tractor to the auger. Here’s how you do it:
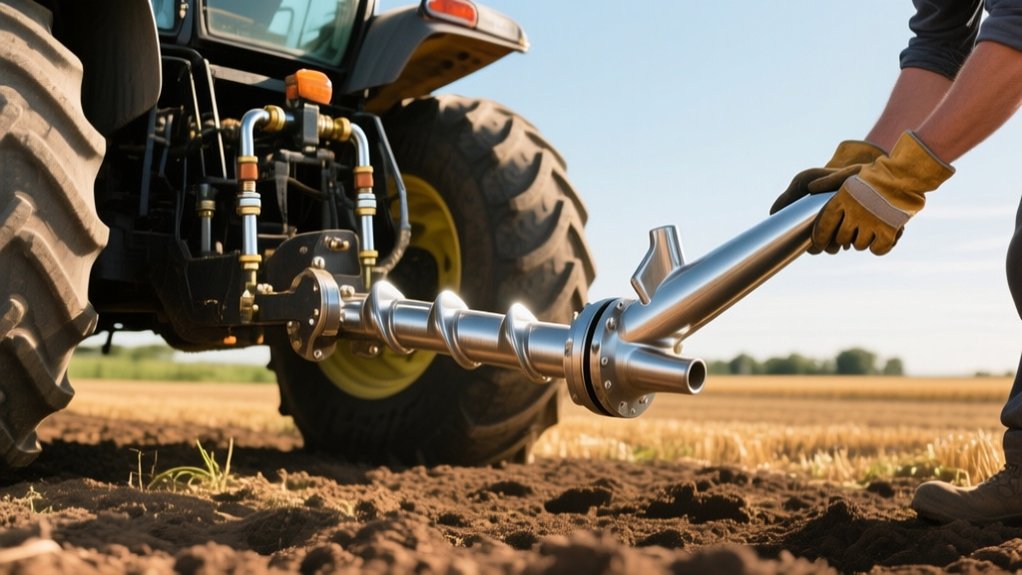
- Align and slide the PTO shaft onto the tractor’s PTO stub shaft until it clicks into place securely.
- Engage the locking pin or collar on the PTO shaft to prevent it from slipping off during operation.
- Check the PTO shaft guard is intact and properly positioned to protect you from moving parts.
Make sure the shaft rotates freely without binding. Never operate the PTO without the guard in place, and always double-check the connection before starting.
Properly securing the PTO shaft ensures efficient power transfer and keeps you safe during operation.
Test Auger Controls and Inspect Hydraulic Lines
How do you make certain your auger runs smoothly and safely after connecting it? Start by testing the auger controls. With the tractor engine running at low RPM, slowly engage the auger to check its response. Make sure the auger rotates in the intended direction without hesitation or unusual noises.
Next, inspect all hydraulic lines for leaks, cracks, or loose fittings. Look closely at connections near the tractor and auger to confirm they’re secure. Gently move the hydraulic hoses to ensure they’ve enough slack and aren’t pinched or rubbing against sharp edges.
Address any issues immediately to avoid damage or accidents. By carefully testing controls and inspecting hydraulics, you’ll guarantee reliable operation before moving on to final safety checks.
Do a Final Safety Check for Tractor and Auger
Before you start using the auger, you should perform a final safety check on both the tractor and the attachment. This assures everything is secure and functioning properly to prevent accidents.
- Inspect all connections: Double-check that the auger is firmly attached to the tractor’s hitch, and the PTO shaft is properly engaged with no loose parts.
- Verify hydraulic systems: Confirm there are no leaks in hydraulic lines and that all controls respond smoothly without unusual noises or resistance.
- Check safety guards: Make sure all shields and guards around moving parts are in place and undamaged to protect you during operation.
Taking these steps helps you operate safely and efficiently, minimizing risks while using your tractor and auger.
Frequently Asked Questions
What Type of Auger Is Best for My Tractor Model?
You’ll want an auger that matches your tractor’s horsepower and hitch type. Check your tractor’s manual for PTO speed and weight capacity, then choose a compatible auger size and power to guarantee safe, efficient digging.
How Do I Maintain the Auger After Use?
Think of your auger as a hardworking horse—you’ve got to clean its teeth and brush its coat. After use, wipe it down, grease moving parts, check bolts, and store it dry to keep it ready for the next job.
Can I Use the Auger in Frozen Ground Conditions?
You can use the auger in frozen ground, but it’s tougher on the equipment and requires more power. Make sure to go slow, avoid overheating, and check for damage often to keep it working properly.
What Safety Gear Should I Wear While Operating the Auger?
You should wear gloves, safety goggles, sturdy boots, and hearing protection. Did you know 60% of farm injuries involve power equipment? Staying protected helps you avoid serious harm while operating the auger safely and efficiently.
How Do I Troubleshoot Common Auger Attachment Issues?
You’ll want to check for loose pins, worn PTO shafts, or hydraulic leaks first. Tighten connections, replace damaged parts, and guarantee proper alignment. If the auger won’t turn, inspect the drive belt and gearbox for issues.
Conclusion
Now that you’ve securely attached your auger, imagine the satisfying hum as it powers up, ready to dig deep into the earth. Picture the smooth motion as your tractor and auger work together seamlessly, turning tough soil into a clean hole with ease. By following these simple steps, you’ve set yourself up for safe, efficient digging. So, gear up, take the controls confidently, and watch your project come to life right before your eyes.