Adjust Brakes on a Tractor Trailer in 10 Essential Steps
To adjust brakes on a tractor trailer, first secure and position your vehicle on level ground, then inspect brake components for wear or damage. Release all air pressure before starting and adjust the slack adjusters to guarantee proper shoe-to-drum clearance. Check drum or rotor clearance, test brake function with applied air pressure, and fine-tune after a road test. Following these essential steps keeps your brakes safe and effective—you’ll get a full grasp of the detailed process as you go.
Key Takeaways
- Park the tractor trailer on level ground, engage parking brake, chock wheels, and confirm air pressure is at the recommended level.
- Fully release air pressure by draining tanks and confirm gauge reads zero before starting brake adjustments.
- Adjust slack adjusters by turning the bolt to achieve proper shoe-to-drum clearance and avoid brake binding.
- Measure brake chamber pushrod stroke under moderate pressure and adjust slack adjusters to keep stroke within manufacturer specs.
- Test brakes by building air pressure, checking brake response and slack adjuster movement, then fine-tune adjustments based on road test feedback.
Prepare Your Tractor Trailer By Securing and Positioning It
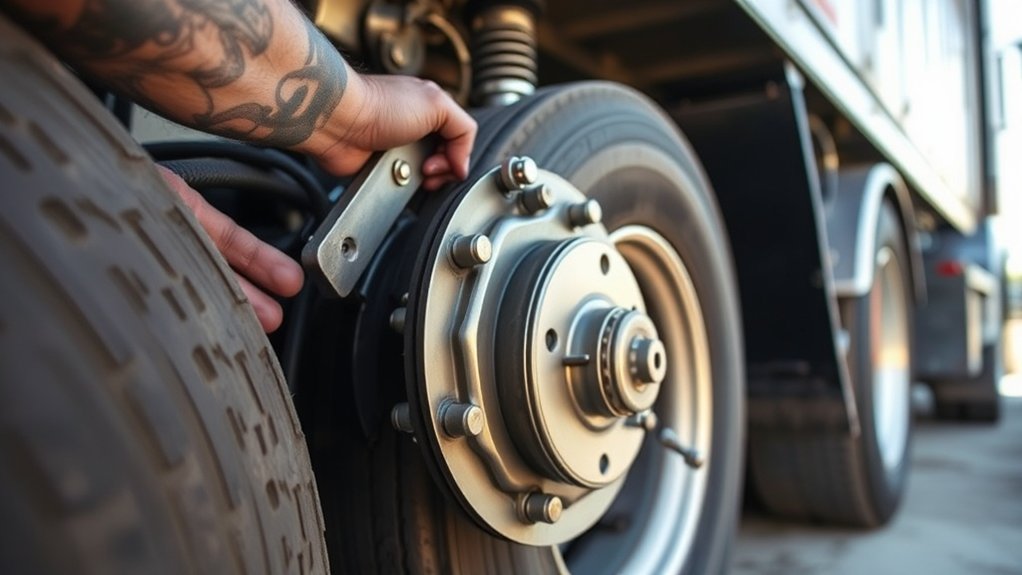
Before you begin adjusting the brakes, make sure you’ve securely parked your tractor trailer on a level surface and engaged the parking brake. This prevents any unexpected movement that could cause injury or damage.
Next, chock the wheels to add an extra layer of safety, especially if you’re working on an incline or uneven ground. Inspect the trailer’s position to verify you have easy access to the brake components.
Lower the landing gear to stabilize the trailer further. Confirm that all air pressure in the brake system is at the recommended level before starting.
Properly securing and positioning your tractor trailer not only protects you but also helps you adjust the brakes more accurately and efficiently. Taking these steps first sets you up for a safer, smoother brake adjustment process.
Learn How Tractor Trailer Brakes Work
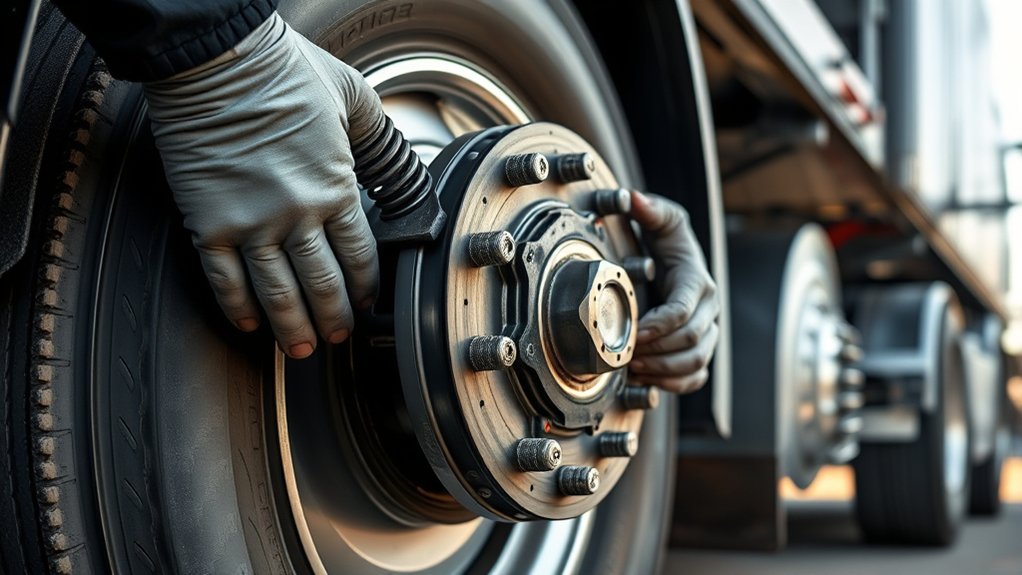
To adjust your tractor trailer brakes properly, you need to understand how the air brake system operates. Knowing the function of brake drums, shoes, and slack adjusters will help you spot issues and make accurate adjustments.
Let’s break down these key components so you can keep your brakes working safely and efficiently.
Air Brake System Basics
Although air brakes might seem complex at first, you’ll find they operate on straightforward principles that guarantee your tractor trailer stops safely and effectively. When you press the brake pedal, compressed air flows through the system, pushing brake components to slow the vehicle. The system relies on air pressure, reservoirs, valves, and chambers working together seamlessly. Understanding these parts helps you maintain and adjust your brakes correctly.
| Component | Function |
|---|---|
| Compressor | Generates compressed air |
| Reservoirs | Store compressed air |
| Brake Chambers | Convert air pressure to force |
| Valves | Control air flow and pressure |
Keep these basics in mind as you proceed with brake adjustments.
Brake Drum And Shoes
Understanding how air pressure moves through the system sets the stage for learning how the brake drum and shoes work together to stop your tractor trailer.
When you apply the brakes, the brake shoes press against the brake drum, creating the friction needed to slow down or stop your vehicle. The brake drum rotates with the wheel, and the shoes expand outward to grip the drum’s inner surface.
Here’s what you should know about brake drums and shoes:
- The brake drum is a heavy, round metal part that spins with the wheel.
- Brake shoes are curved pieces lined with friction material that press against the drum.
- Friction between the shoes and drum converts kinetic energy into heat, slowing your tractor trailer.
This system’s efficiency depends on properly maintained drums and shoes.
Role Of Slack Adjusters
How do slack adjusters keep your tractor trailer’s brakes working properly? Slack adjusters play a vital role by maintaining the correct distance between the brake shoes and the brake drum.
When you apply the brakes, the slack adjuster transfers the force from the brake chamber pushrod to the camshaft, which then pushes the brake shoes against the drum.
Over time, brake shoes wear down, increasing the gap between the shoes and drum. The slack adjuster automatically compensates for this wear, keeping the brakes responsive.
If the slack adjuster fails or isn’t adjusted correctly, your brakes won’t engage fully, leading to longer stopping distances and unsafe conditions.
Regular inspection and adjustment of slack adjusters ensure your tractor trailer’s braking system stays reliable and efficient.
Inspect Brake Components for Wear and Damage
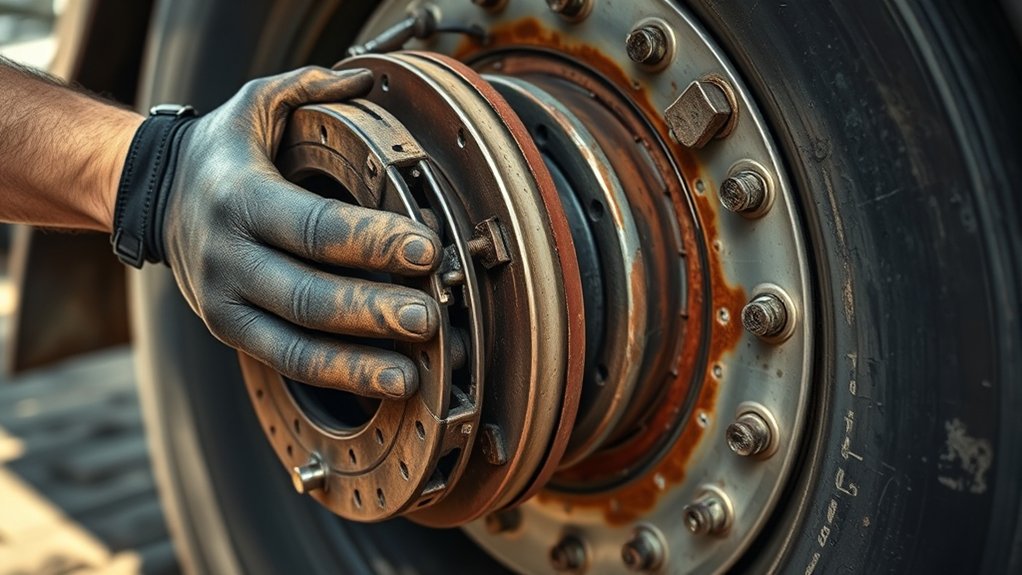
Now it’s time to inspect the brake components for wear and damage. You’ll want to perform a thorough visual check, looking closely at each part for signs of wear.
Catching issues early helps keep your tractor trailer safe and running smoothly.
Visual Brake Inspection
Where should you focus when visually inspecting brake components on a tractor trailer? Start by examining the brake drums and linings closely. Look for cracks, scoring, or any signs of overheating that could compromise performance.
Next, check the brake chambers for leaks or damage, ensuring the diaphragm and push rod operate smoothly.
Finally, inspect the slack adjusters and return springs for proper alignment and tension, as these parts are essential for effective brake function.
Pay special attention to:
- Brake drum surface condition and lining integrity
- Brake chamber housing and air line connections
- Slack adjuster movement and spring condition
Check for Component Wear
After visually inspecting the brake components for obvious issues, you should closely check each part for wear and damage. Look at the brake shoes for thinning or cracking, as worn shoes won’t provide adequate friction.
Inspect the brake drum surfaces for scoring, grooves, or heat damage, which can reduce braking efficiency. Check the lining thickness and replace any shoes with less than the minimum specified material.
Examine the brake hardware, including springs, pins, and clips, for corrosion or deformation that could affect function. Don’t overlook the slack adjusters and camshafts; verify they move smoothly without excessive play.
If you find any damaged or worn parts, replace them promptly to maintain safe braking performance and avoid costly repairs later on.
Release Air Pressure Before Adjustment
Before you adjust the brakes on a tractor trailer, you’ve got to release the air pressure from the brake system. This step is crucial for your safety and to prevent any accidental brake engagement while you’re working.
Here’s what you need to do:
- Park the vehicle on a flat surface and apply the parking brake.
- Drain the air tanks fully by opening the drain valves; this ensures no residual pressure remains.
- Verify the pressure gauge reads zero before proceeding with any brake adjustments.
Releasing the air pressure helps avoid unexpected brake movement and protects both you and the brake components during maintenance.
Always double-check that the system is fully depressurized before continuing to the next step.
Adjust Tractor Trailer Brake Slack Adjusters Properly
Now that the air pressure is released, you’ll want to identify the slack adjusters on your tractor trailer.
Follow the proper adjustment steps carefully to guarantee they’re set correctly.
After adjusting, always perform safety checks to confirm everything is working as it should.
Identifying Slack Adjusters
Several types of slack adjusters exist, and knowing how to identify the one on your tractor trailer is essential for proper brake adjustment.
You’ll typically encounter three common types:
- Manual Slack Adjusters: These require you to physically turn a bolt or lever to adjust brake clearance.
- Automatic Slack Adjusters: These adjust themselves as you drive, maintaining proper brake stroke automatically.
- Ratchet Slack Adjusters: They use a ratcheting mechanism to fine-tune brake clearance manually.
Look for labels or markings on the slack adjuster body that indicate its type.
Also, observe the presence of a pushrod and if there’s a manual adjustment bolt or a self-adjusting mechanism.
Identifying the correct slack adjuster guarantees you apply the right adjustment technique, keeping your brakes safe and effective.
Adjusting Procedures Overview
Although adjusting tractor trailer brake slack adjusters requires attention to detail, you can perform the task efficiently by following a clear procedure.
Start by parking the vehicle on level ground and ensuring the parking brake is applied.
Locate the slack adjusters on each brake chamber and check for proper positioning.
Turn the adjusting bolt or nut on the slack adjuster to reduce the brake shoe-to-drum clearance until there’s a slight drag when you rotate the wheel by hand.
Avoid over-tightening, which can cause brake binding.
Repeat this process for every brake on both tractor and trailer.
Finally, double-check your work by verifying that the slack adjusters move freely and the brake stroke is within specifications.
Following these steps guarantees your brakes are properly adjusted for safe operation.
Safety Checks Post-Adjustment
Once you’ve adjusted the brake slack adjusters, you should perform thorough safety checks to guarantee everything functions correctly. Start by inspecting the brake chambers and pushrods for proper alignment and signs of wear or damage.
Next, verify the brake lining thickness to ensure it meets safety standards. Finally, conduct a brake application test by slowly moving the tractor trailer forward and applying the brakes to confirm even engagement.
Here are the key safety checks you should perform:
- Check for air leaks around the brake chambers and connections.
- Measure the pushrod travel to ensure it’s within manufacturer specs.
- Observe the brake response during a slow speed test to confirm proper adjustment.
These steps help maintain safe braking performance and prevent costly repairs.
Adjust the Brake Chamber Pushrod Stroke Correctly
Before you can verify your brakes function safely, you need to adjust the brake chamber pushrod stroke correctly. Begin by fully releasing the parking brake and ensuring the air pressure is at the recommended level.
Proper brake function starts with correctly adjusting the pushrod stroke and releasing the parking brake.
Measure the pushrod stroke with a ruler or stroke gauge while applying moderate brake pressure. The stroke should fall within the manufacturer’s specified range, typically between 1/2 inch and 1 inch.
If it’s too long, it indicates that the brakes aren’t applying enough force, so adjust the slack adjuster by turning it to shorten the pushrod stroke. Make small adjustments, then re-measure.
Avoid over-tightening, which can cause brakes to drag. Once the stroke is within specs, secure the slack adjuster and recheck the measurement to confirm accuracy.
This guarantees your brakes engage properly and safely.
Check and Adjust Brake Drum or Rotor Clearance
To guarantee your brakes operate smoothly and safely, you need to check and adjust the clearance between the brake drum or rotor and the brake shoes or pads.
Start by rotating the drum or rotor to feel for any rubbing or resistance, which indicates improper clearance. Use a feeler gauge to measure the gap, comparing it with the manufacturer’s specifications.
If the clearance is off, adjust it by:
- Loosening the adjuster mechanism or bolts
- Turning the star wheel or adjusting nut to increase or decrease the gap
- Tightening everything back securely once the correct clearance is set
Proper clearance prevents premature wear and ensures responsive braking.
Always double-check the adjustment on all wheels before moving on.
Test Brake Function Using Applied Air Pressure
How can you be sure your brake adjustments are effective? You need to test the brake function using applied air pressure. First, build up air pressure to the recommended PSI, then apply the brakes and observe the response. Check that the brake chambers activate smoothly and the slack adjusters move correctly. If you notice any delay or weak response, recheck your adjustments.
| Step | Action | Expected Result |
|---|---|---|
| Build Air Pressure | Increase to specified PSI | Steady pressure gauge |
| Apply Brakes | Press brake pedal | Brake chambers engage |
| Observe Movement | Watch slack adjusters | Smooth, firm movement |
This test confirms your brakes respond properly before road use.
Fine-Tune Brakes After Road Testing
Once you’ve completed the initial brake adjustments and tested them under controlled conditions, it’s crucial to fine-tune the brakes after road testing. This step guarantees maximum brake performance under real driving conditions and enhances safety. Pay close attention to any unusual noises, pulling, or uneven stopping.
Fine-tuning brakes after road testing ensures optimal performance and safety in real driving conditions.
To fine-tune your brakes effectively:
- Monitor brake response during normal driving and emergency stops to identify inconsistencies.
- Adjust brake slack or stroke length if you notice delayed engagement or excessive pedal travel.
- Recheck brake balance between axles to prevent uneven wear and maintain vehicle stability.
Schedule Regular Brake Inspections and Adjustments
Although fine-tuning your brakes after road testing is essential, you can’t overlook the importance of scheduling regular brake inspections and adjustments. Consistent checks help catch wear and tear early, preventing costly repairs and ensuring your tractor trailer stops safely every time.
Set a routine based on manufacturer recommendations and your vehicle’s usage. During inspections, focus on brake lining thickness, drum condition, and air system integrity. Don’t wait for brake performance to decline before acting.
Regular adjustments keep the braking system balanced and responsive, reducing uneven wear and improving overall safety. By staying proactive, you’ll avoid unexpected downtime and maintain compliance with safety regulations.
Make brake inspections a non-negotiable part of your maintenance schedule to keep your tractor trailer operating smoothly and safely.
Frequently Asked Questions
How Often Should Tractor Trailer Brake Fluid Be Replaced?
You should replace tractor trailer brake fluid every two years or 24,000 miles to maintain peak performance. Don’t wait for issues; regular fluid changes prevent moisture buildup and corrosion, ensuring your brakes stay reliable and safe.
Can Electronic Brake Systems Be Adjusted Manually?
You can’t manually adjust most electronic brake systems since they automatically calibrate. Curiously, electronic brake control reduces stopping distances by up to 20%, enhancing safety without needing manual tweaks from you.
What Are Common Signs of Brake Overheating?
You’ll notice a burning smell, brake fade, or reduced stopping power when brakes overheat. Your brake pedal might feel soft or spongy, and you could hear squealing or grinding noises indicating overheating issues.
How Does Weather Affect Brake Performance?
Cold weather can make your brakes less responsive, while wet conditions reduce friction, causing longer stopping distances. Hot weather may overheat brakes, leading to fading. Always adjust your driving to match the weather’s impact on braking.
Are There Specialized Tools Required for Brake Adjustments?
Adjusting brakes isn’t a walk in the park; you’ll need specialized tools like a brake adjustment wrench, a dial indicator, and sometimes a brake lining gauge. These tools help you fine-tune for safe, smooth stops every time.
Conclusion
Adjusting your tractor trailer brakes is like tuning a finely crafted instrument—each step guarantees harmony between safety and performance. By thoroughly preparing, inspecting, and carefully adjusting the components, you keep your brakes responsive and reliable. Remember, regular maintenance isn’t just a task; it’s your commitment to safety on the road. Stay diligent with inspections and adjustments, and your tractor trailer will respond precisely when it matters most, protecting you and everyone around you.